Capture Screen
Record any demos or tutorials with real-time annotations.
How to Record Screen, Camera & Audio
Easily capture screen, camera, or audio - with options for entire screen, window, web page, narration over images/PDFs, and instant timeline integration.
A product demo creator simultaneously records the interface while explaining features via voiceover, adds real-time zoom annotations on key UI elements, and creates engaging tutorial guides quickly.
Important Notes Before Recording
To ensure a smooth recording experience, please note how Poindeo captures audio in different modes.
Due to current web browser limitations, Poindeo can capture one audio source at a time. You can choose to record either your computer's audio (from a tab or your entire system) OR your microphone's audio (your voice).
When recording your entire screen:
- You can choose to capture system audio (all sound from your computer). Note: This feature is available on Windows only. How: Check the option that says “Share system audio” when choosing what to share.
- Or, you can choose to capture microphone audio (your voice). First, allow the microphone permission in the browser and enable the microphone before recording.
When recording a browser tab:
- You can choose to capture the sound from that specific tab. Check the option that says "Share audio".
- Or, you can choose to capture microphone audio.
When recording a specific application window:
- You can only record audio from your Microphone.
- Capturing the application's sound directly is not supported in this mode.
Quick Summary
| If you want to record... | Operations |
| Your voice from the microphone | Uncheck the share audio box and turn on microphone access |
| Audio from a browser tab | Select a tab to share, and check the "Share audio" option. |
| All computer system audio | Select the entire screen to share and check the "Share system audio" option. (Windows only) |
| A specific app window | You can only record your microphone. |
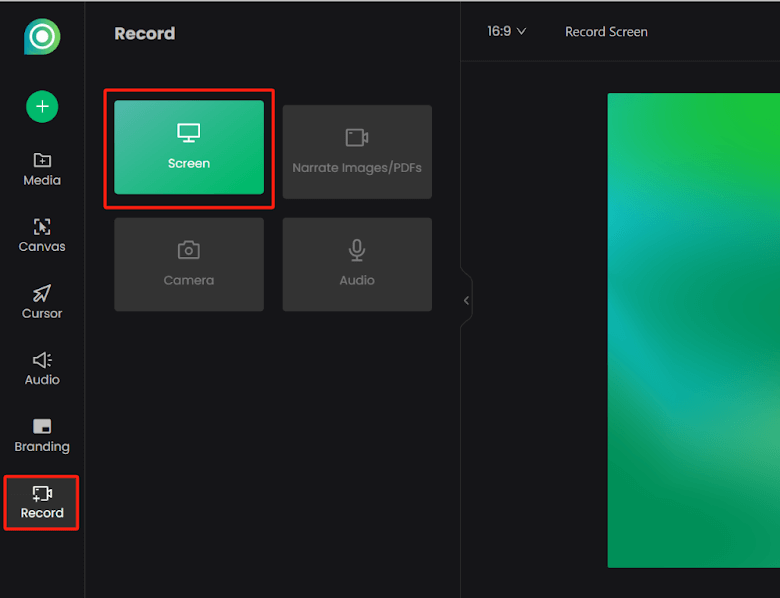
Record Entire Screen, a Window, or a Web Page
To record a screen:
-
Navigate the Record panel in the left sidebar.
-
Choose Screen.
-
Select the entire screen, a window, or a web page to record.
-
Enable camera or microphone access if needed.
-
Click the Start Recording button.

-
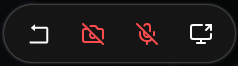
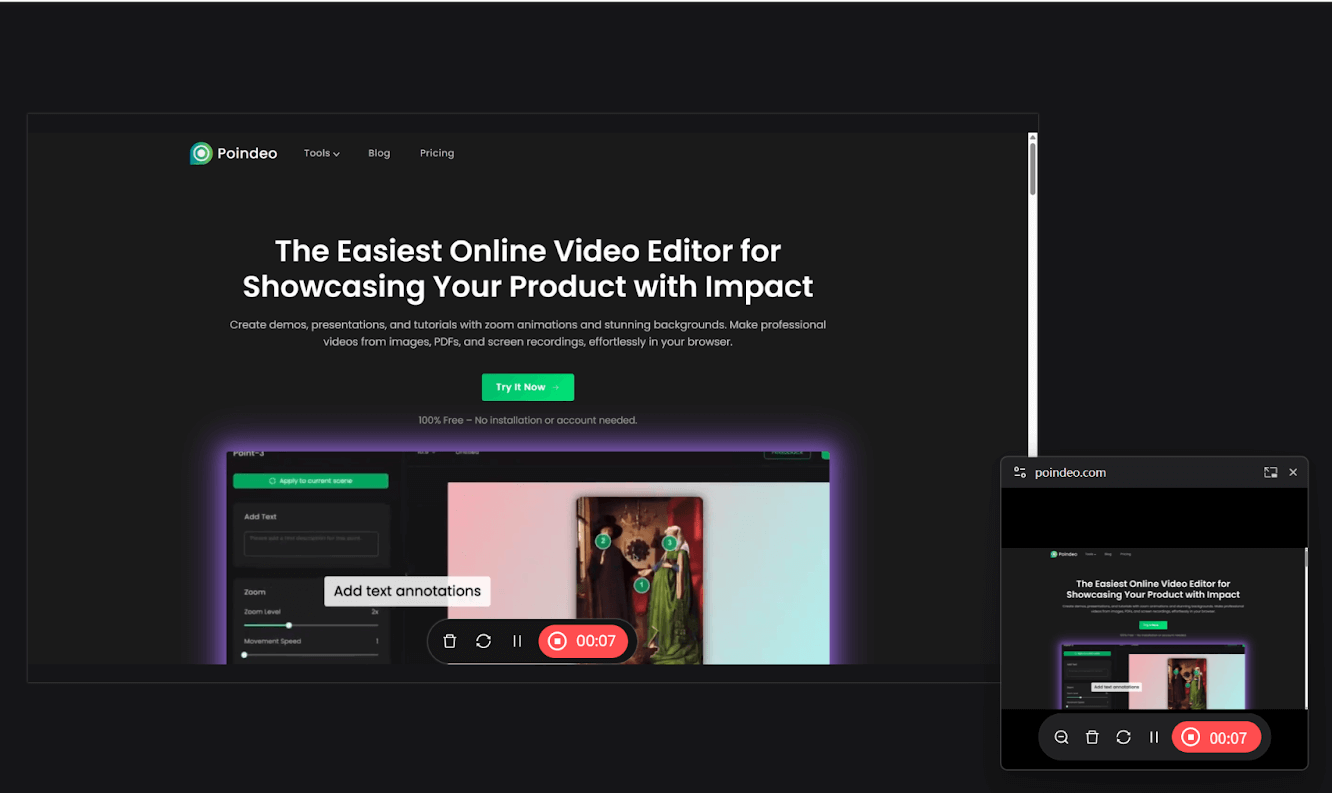
After a 3-second countdown, the recording begins. Interact directly within the capture area and view the real-time picture of the recording.
-
Click the Stop button to finish recording. Add it to the timeline to edit further, or download it directly as WEBM.
Record Screen or Camera Only
To record camera or audio only:
- Navigate to the Record panel and choose Camera or Audio.
- Enable camera access or microphone access.
- Click the Start Recording button.
- After a 3-second countdown, the recording begins.
- Click the Stop button to finish recording, add it to the timeline as a media track or audio track, or download it to the device.
Record Voiceover on Images/PDFs
To record a voiceover on an image or a PDF:
-
Make sure an image or PDF is uploaded. Navigate to the Record panel and choose Narrate Images/PDFs.
-
Set the webcam mode, virtual avatar, or leave it as none.
-
Click Start Narrating.
-
Click points to add zoom animation while recording speaking.
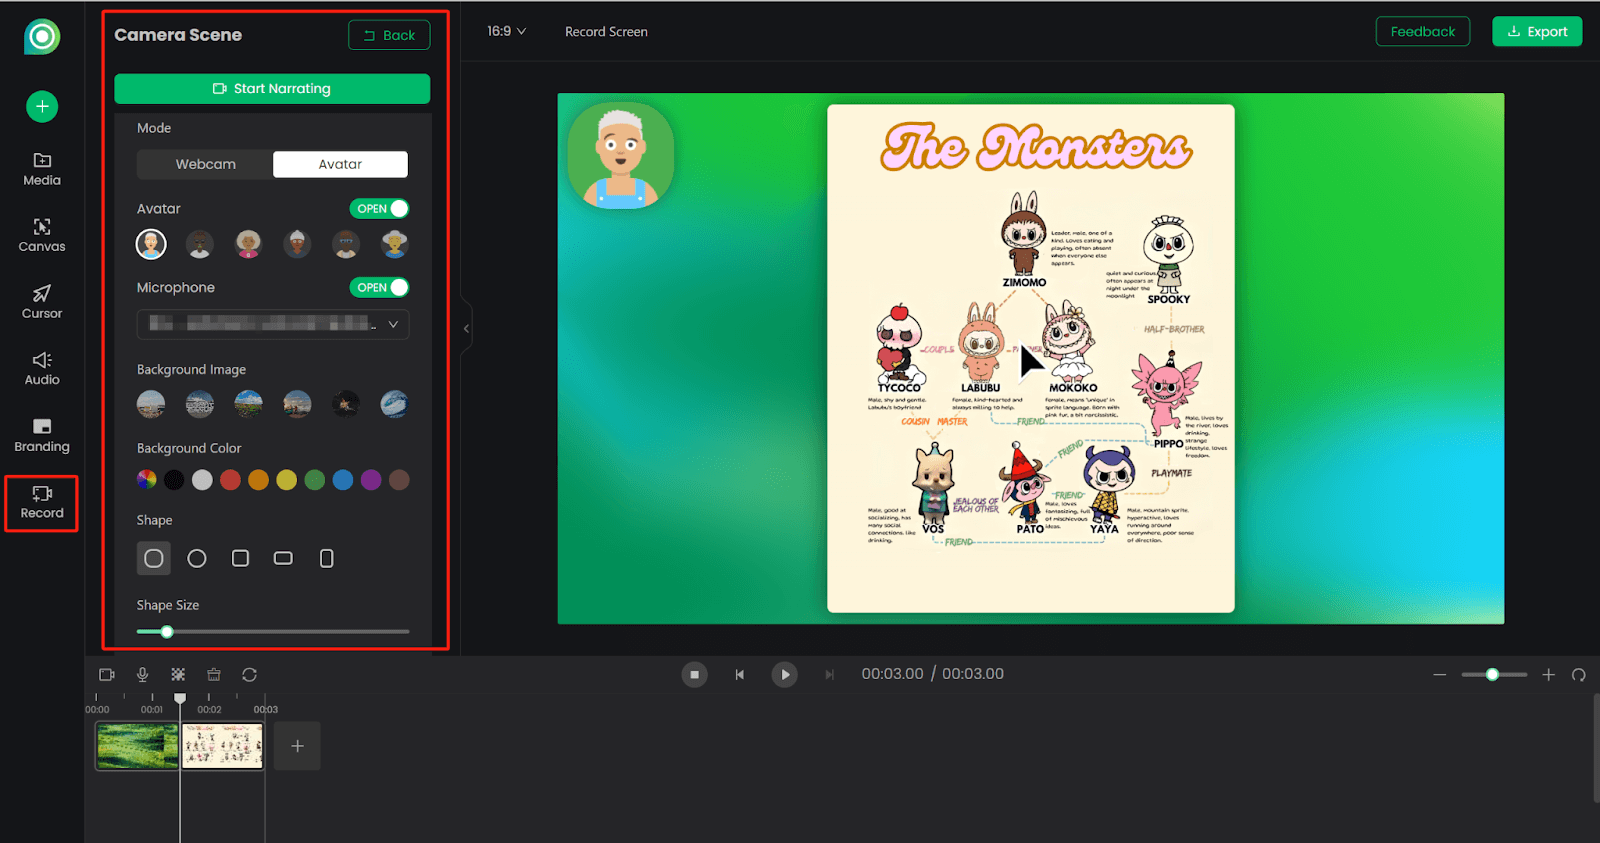
Note: If you uploaded multiple images or PDFs, select one and record a voiceover. After stopping recording, select another one and start recording again.