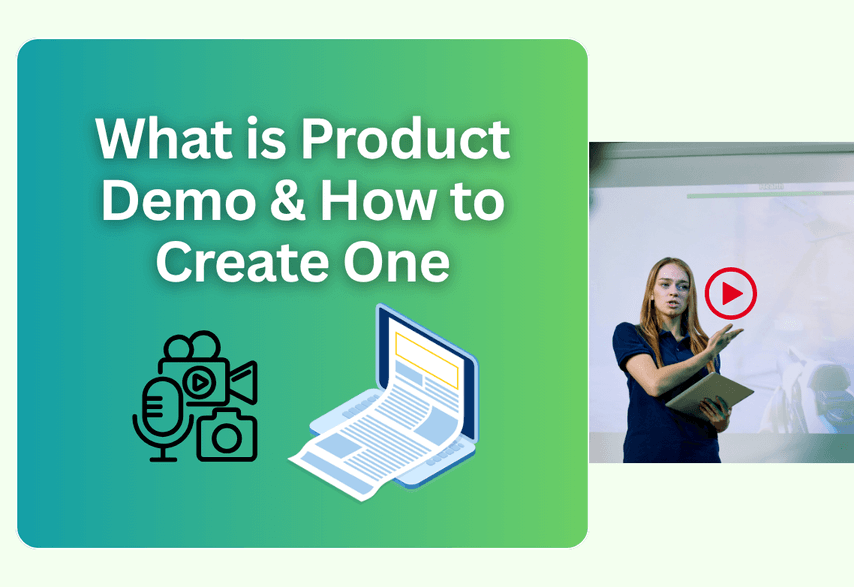
Nearly 80% of consumers prefer to watch a product video before making a purchase decision. The simple reason is that text can describe, but video demonstrates.
For software, websites, and even teaching, a demo video is a powerful way to answer the user’s most important question: “How will this product actually work for me and solve my problem?”
But a simple screen recording isn’t enough. A great demo video uses motion, storytelling, and a clear voice to guide the viewer's focus. This guide will show you how to create one that works. You will learn the reasons to create a demo video, essential components, steps, and an effective demo maker.
Why Create a Demo Video?
Creating demo videos has several core reasons. Knowing these helps you assess the value and the cost of this strategy.
- To Simplify Complexity: Most software or products have a learning curve. A good video breaks down complex, single features into continuous, visual steps, making your product feel more intuitive and accessible.
- To Build Trust: Customers get the best possible first impression of your product through a video. It shows what a product actually does, which builds far more trust than a simple text description.
- To Accelerate the Aha! Moment: “An aha moment is when a user suddenly grasps your product's core value.” A demo video is designed to guide viewers to that moment and speed up the decision to buy.
- To Build Connection: A demo video builds a stronger emotional connection by combining visuals that reflect the user's needs with the personality of a human voice.
What Are the Components of a Demo Video?
A demo video usually includes the hook (with problem & solution), how it works, the benefits, and the call-to-action.
1. The Hook
The video hook is to grab the viewer’s attention quickly. It is commonly a surprising fact or statistic, a pain point (a problem), and an achievable result (the solution).
-
Highlight a problem that your target users are currently struggling with.
Examples:
For a productivity tool video, it shows a messy spreadsheet with jumbled data, with the voiceover: “Tired of spending hours cleaning up data just to build a simple report?”
For a design software video, it shows a user struggling with a complex piece of software, trying to handle it, but looking frustrated. “Creating professional graphics shouldn't require hours of tutorials.”
-
The solution should immediately follow the problem. To present the product as the clear, simple solution to the problem with the product logo or interface.
Examples:
“That’s why we built the xx brand.”
“Introducing xx brand, its design tool for your teams.”
2. How it Works
This part will demonstrate some key steps to solve the problem or achieve the desired result. It includes a simplified, purposeful walkthrough of the product in action.
Your narration can explain the “why” behind each click as you show the product in action.
3. The Benefit
After the step-by-step guides, viewers have learned how to operate the product. Now, explicitly state the positive outcome of using your product. This could be the finished screenshot or video clip.
Examples:
“So you can stop spending hours searching or organizing, it saves your time with beautiful designs.”
“Allowing you to make data-driven decisions faster and share insights with your team in seconds, not hours.”
4. The Call to Action
At the end of the video, tell the viewer exactly what to do next.
Examples:
“Ready to take control of your sheets and files? Visit our website to book a personalized demo today.”
A final screen with the company logo and a large button that says call to action sentence.
How to Make a Demo Video: A Step-by-Step Guide
Step 1. Define Goal
Define the single most important thing you want your audience to learn. A complete process? A specific function related to your Aha moment? Focus on that in the entire video.
Step 2. Prepare Visuals and Write a Script
Prepare what you need and write a narrative according to your steps, including the parts above. Practice by operating and reading aloud while pacing yourself.
Step 3. Start Recording
Find a quiet space. Clean up your desktop and close any distracting tabs. Select an area to record (16:9 aspect ratio is common) with a webcam or not. When recording, speak clearly and friendly. Move your mouse slowly and deliberately. Every click and movement should have a purpose that aligns with your script. Don't record yourself randomly browsing.
Pro Tip:
- Instead of a long recording, narrating over a series of high-quality screenshots can be even clearer and easier to edit.
- For video narration, you can narrate while recording the screen or use AI voice generation later. Recording it yourself is the most authentic option.
Step 4. Edit the Video
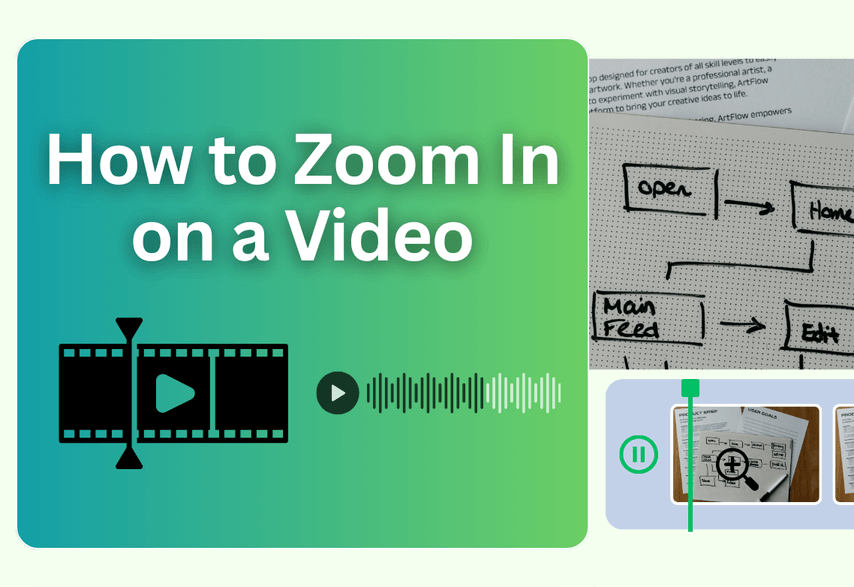
Once finished, use video editing tools to trim out any mistakes or pauses. Add zoom animations or numbered icons to draw attention to the specific clicks or steps. Add background music, subtitles, branding, etc. Then export the final creation as needed formats.
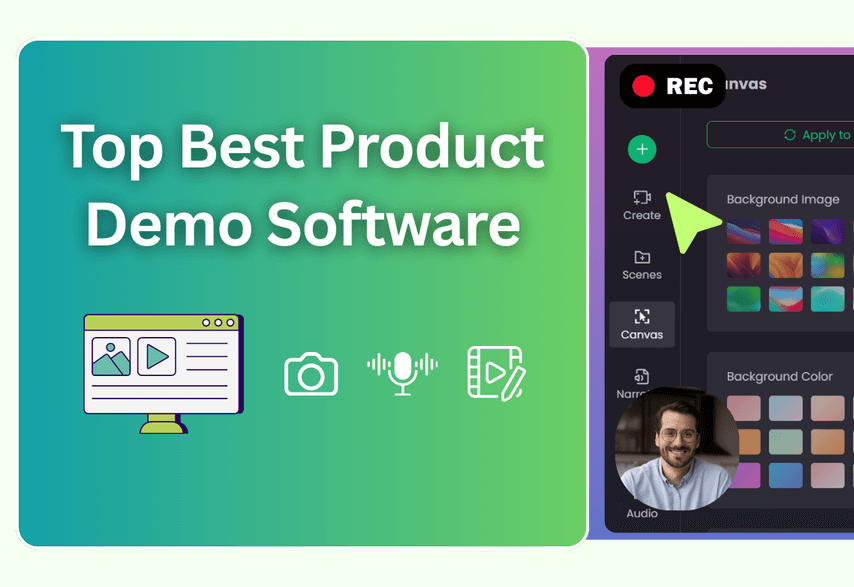
The four-step framework above is the professional standard, but it often requires juggling multiple tools for scripting, recording, and editing. It can be slow and complex. Poindeo combines this entire workflow into one simple, web-based tool.
How to Create Your Demo Video in Minutes with Poindeo
Poindeo is a comprehensive demo video maker that helps you finish the framework. It saves your time and quickly produces an engaging demo video with no software installation or other tools. It’s specifically designed for creating demo videos with a simple process.
Here’s how you can create a professional demo video using Poindeo in just 3 steps.
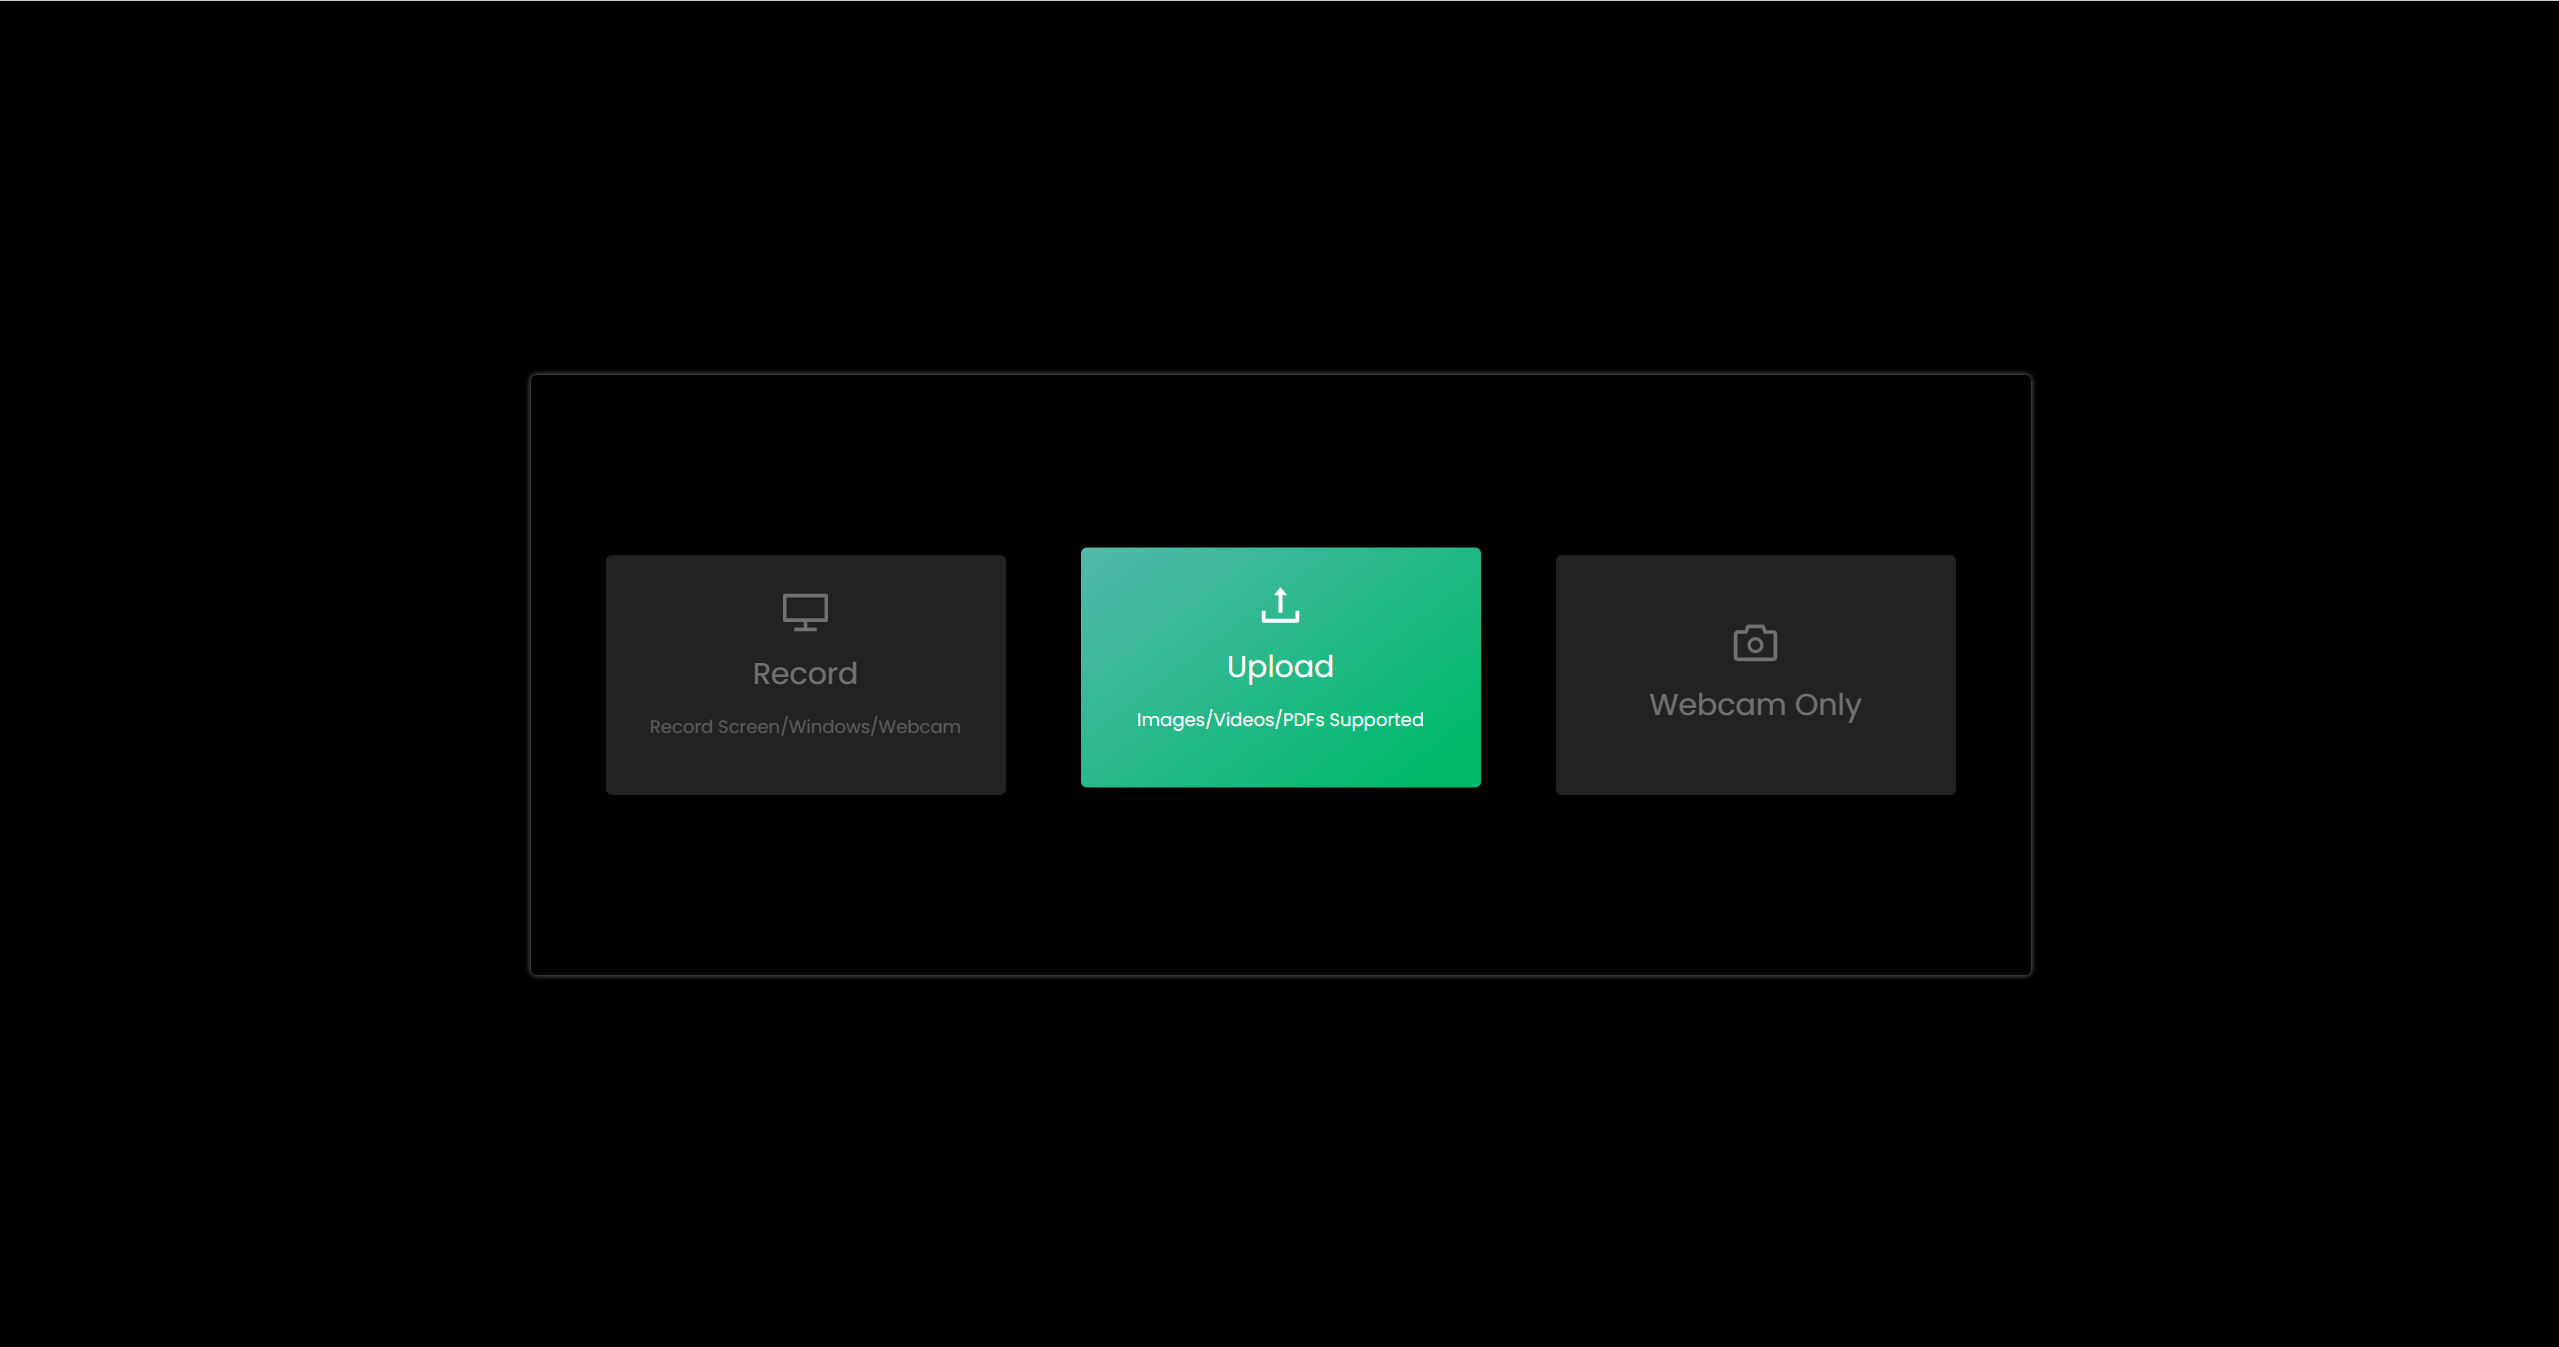
In addition to recording your screen, Poindeo allows you to start with simple assets like product images, presentation screenshots, or a PDF that you want to explain. Here, we take uploading images as an example.
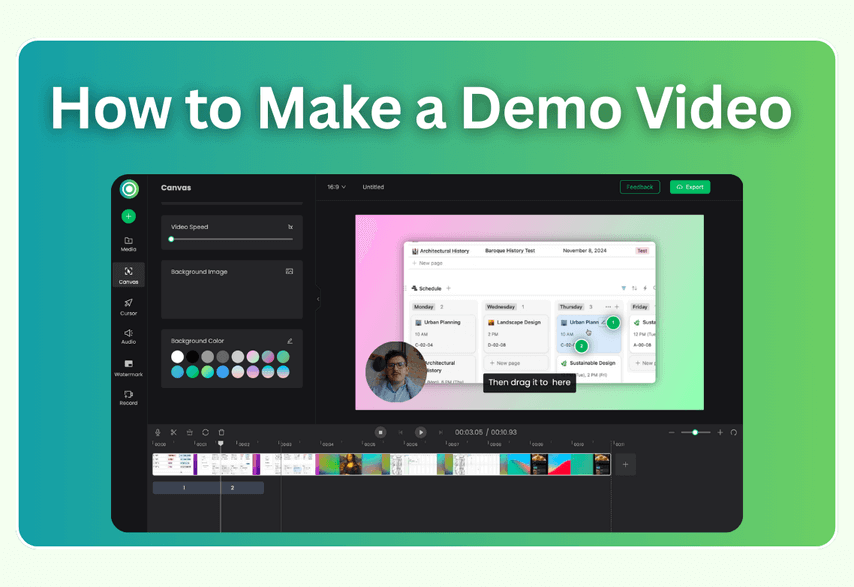
Step 1. Upload Your Visuals
Open Poindeo editing page and upload files. Poindeo instantly turns each image or page into a "scene" in your video timeline.
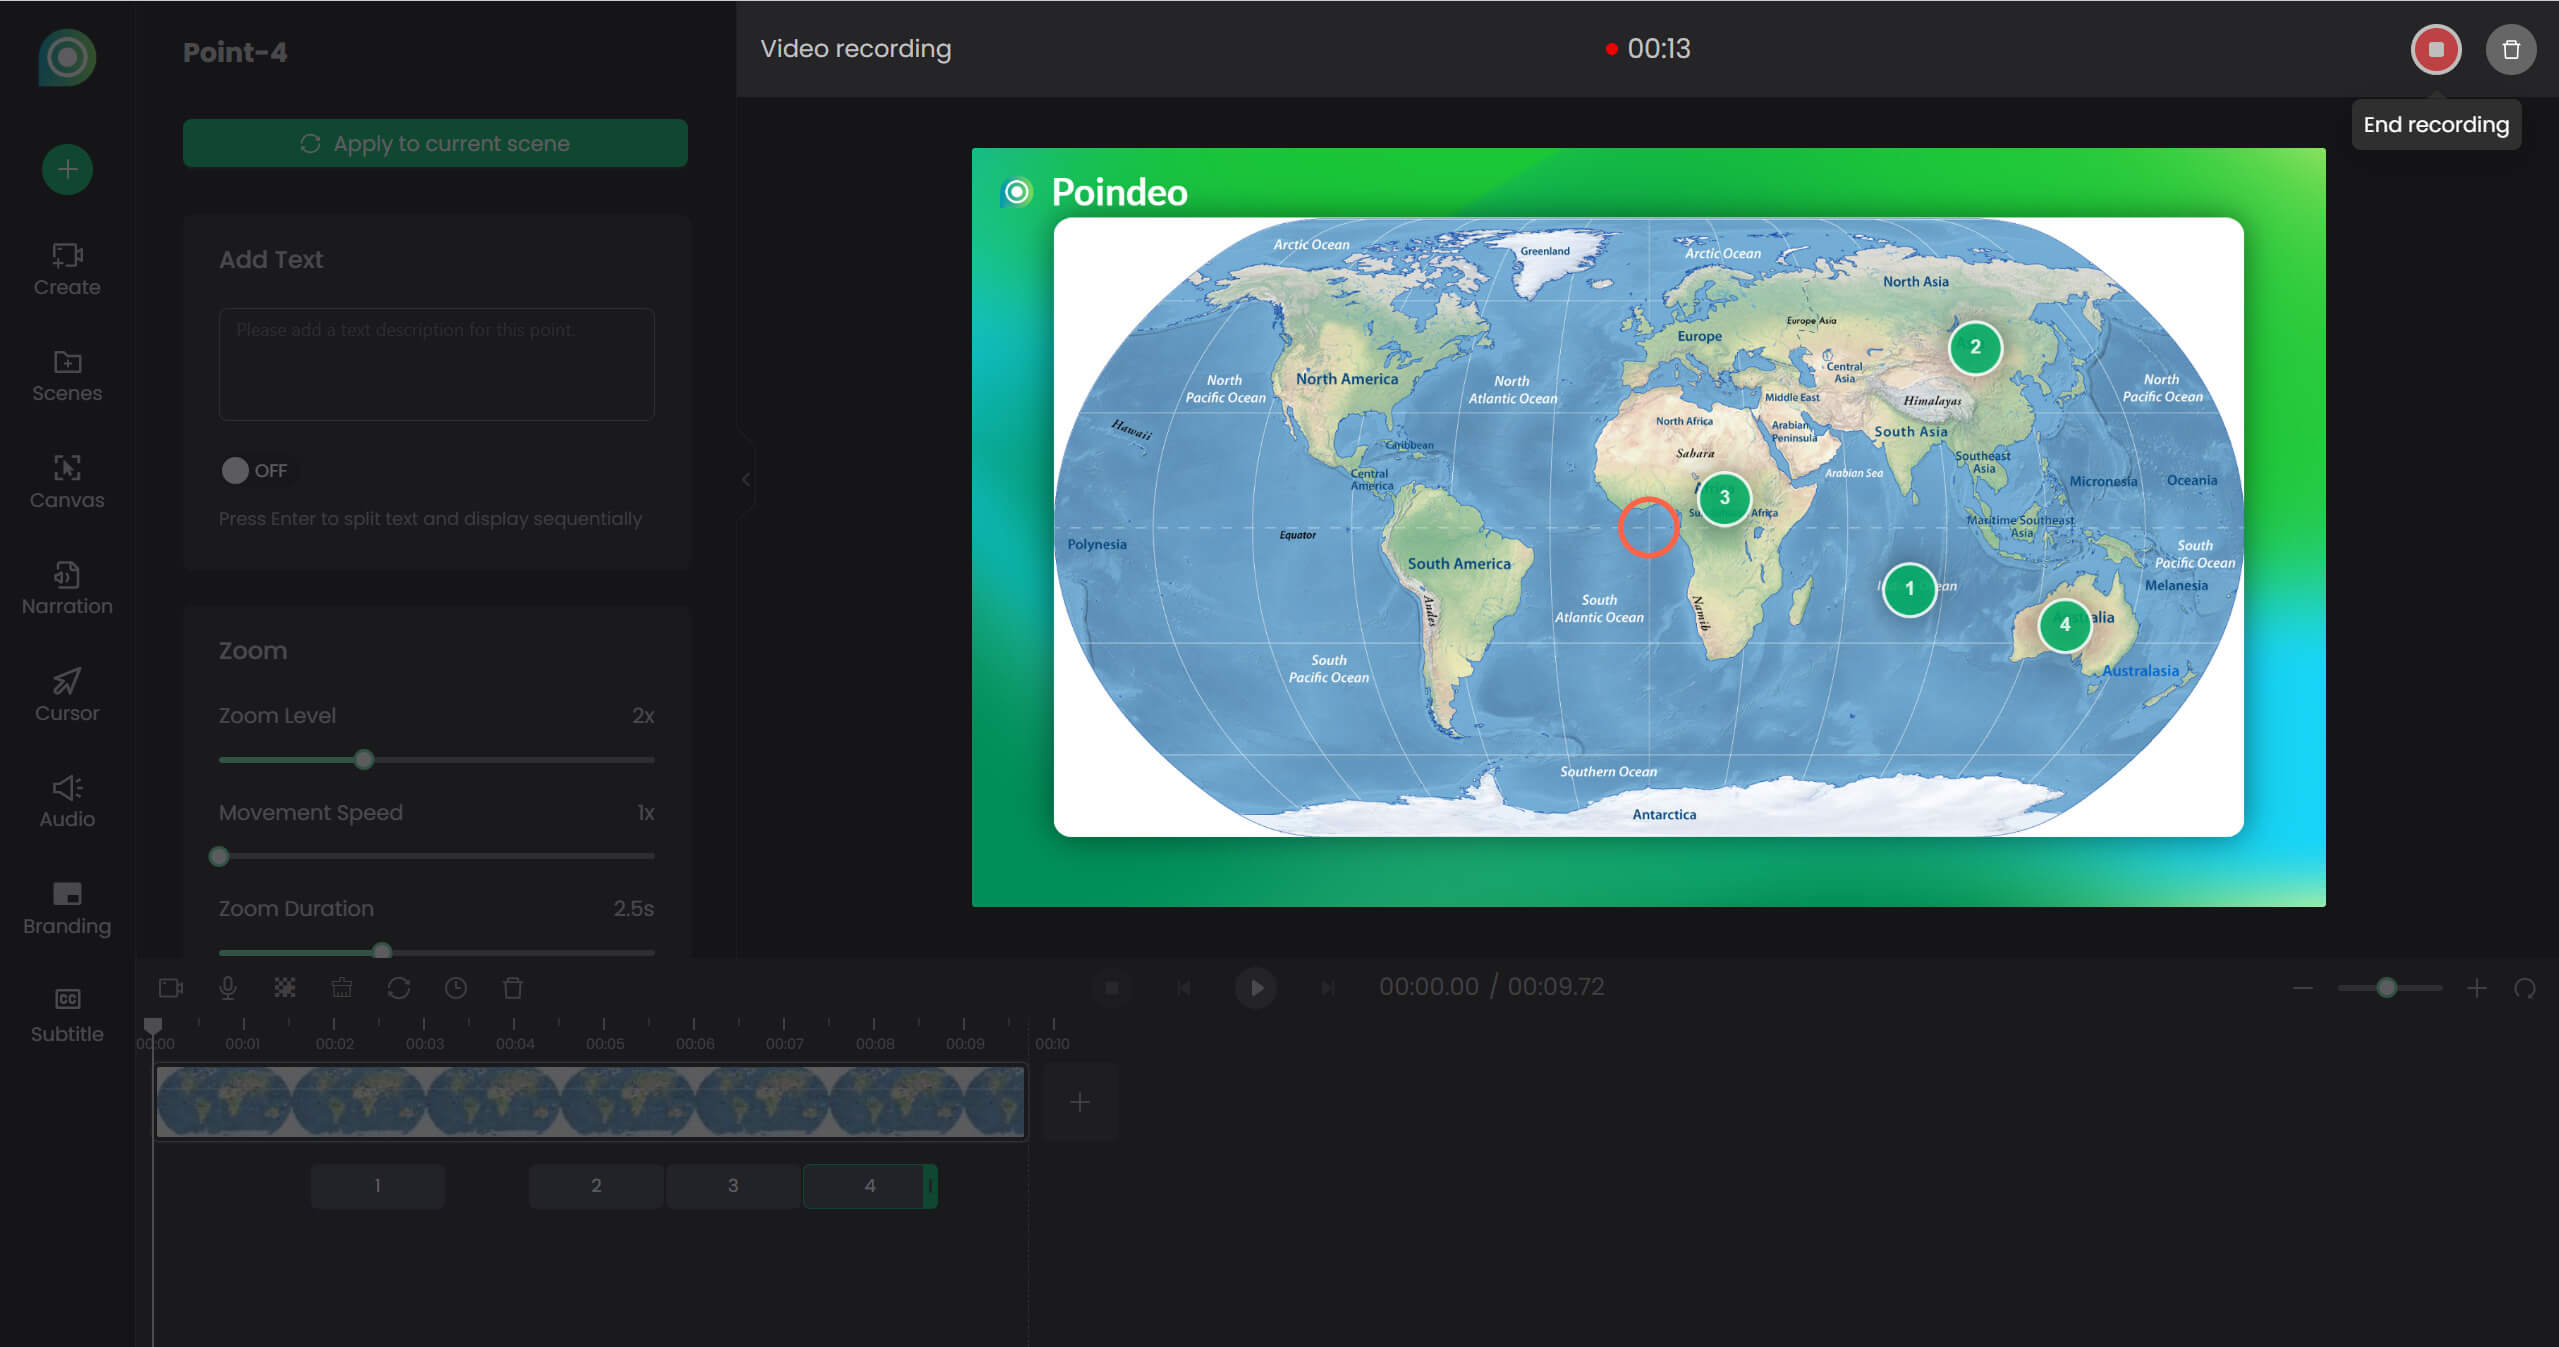
Step 2. Start Narrating
For each image, you can record narration while adding the step-by-step zoom animations. In the Narration panel, you can choose to record with your webcam or an avatar, and start. Click End recording, and you will get a video with a well-synced voiceover.
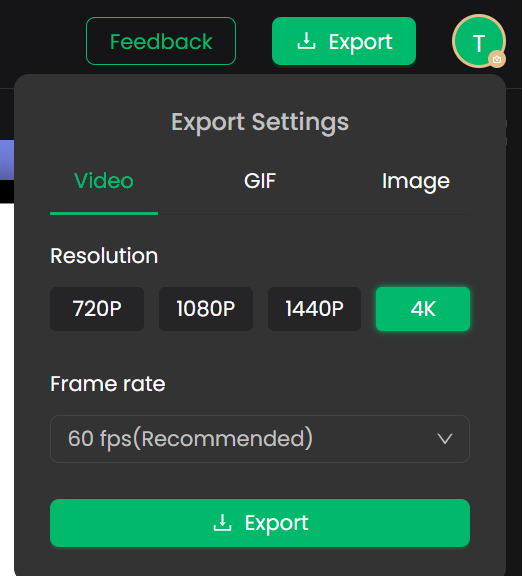
Step 3. Customize and Export
You can add text descriptions to key steps, adjust zoom settings, add background music, auto-generate subtitles, add branding, and change aspect ratio. Watch your video in full screen. Finally, click Export to get an MP4 video or GIF with flexible resolution.
Use cases of Poindeo demo video maker:
- Create Product Demos and Software Tutorials: Record your screen and webcam simultaneously to demonstrate how a product works. You can then edit the clip, generate subtitles for clarity, and use zoom effects to highlight specific features.
- Turn Static Files into Videos: Upload a screenshot or PDF file and convert it into a video presentation. You can add a voiceover to narrate the content while clicking to zoom in on details.
- Produce Educational Lessons: Combine screen recordings, video clips, and images to build comprehensive lessons. You can merge different media types, split longer recordings into smaller segments, and narrate over images or slides.
- Make Engaging Social Media Content: Quickly create videos from your photos, or turn a video clip into a shareable GIF. You can instantly resize your videos to fit the aspect ratios for YouTube, TikTok, and Instagram, and add your logo as a watermark.
How to narrate an image: video guide
Where to Place Your Demo Video for Maximum Impact
Where to place a demo video will determine the maximization of the benefits of a product demo video.
- On a Website Homepage/Product Page: A short, engaging video can immediately explain your product's value to new visitors and potential customers.
- On Social Media: Share the demo video to attract new users, build connections, and establish your official account.
- In the Sales Process: Equip your sales team with a library of demo videos they can send as follow-ups or to answer specific questions.
- Within Help Center: Short, feature-specific videos to align with relevant processes or answer common support questions visually.
- In Email Marketing: Send a demo video to quickly illustrate what your product solves.
Conclusion
With the preparation and practical steps above, you can produce a compelling video that guides your customers to the Aha moment and converts.
And, creating a demo video is easier than ever with Poindeo. It is for clear and professional demo videos, explainer videos, tutorials, and lessons with simple steps. Upload a file now and try it for free.