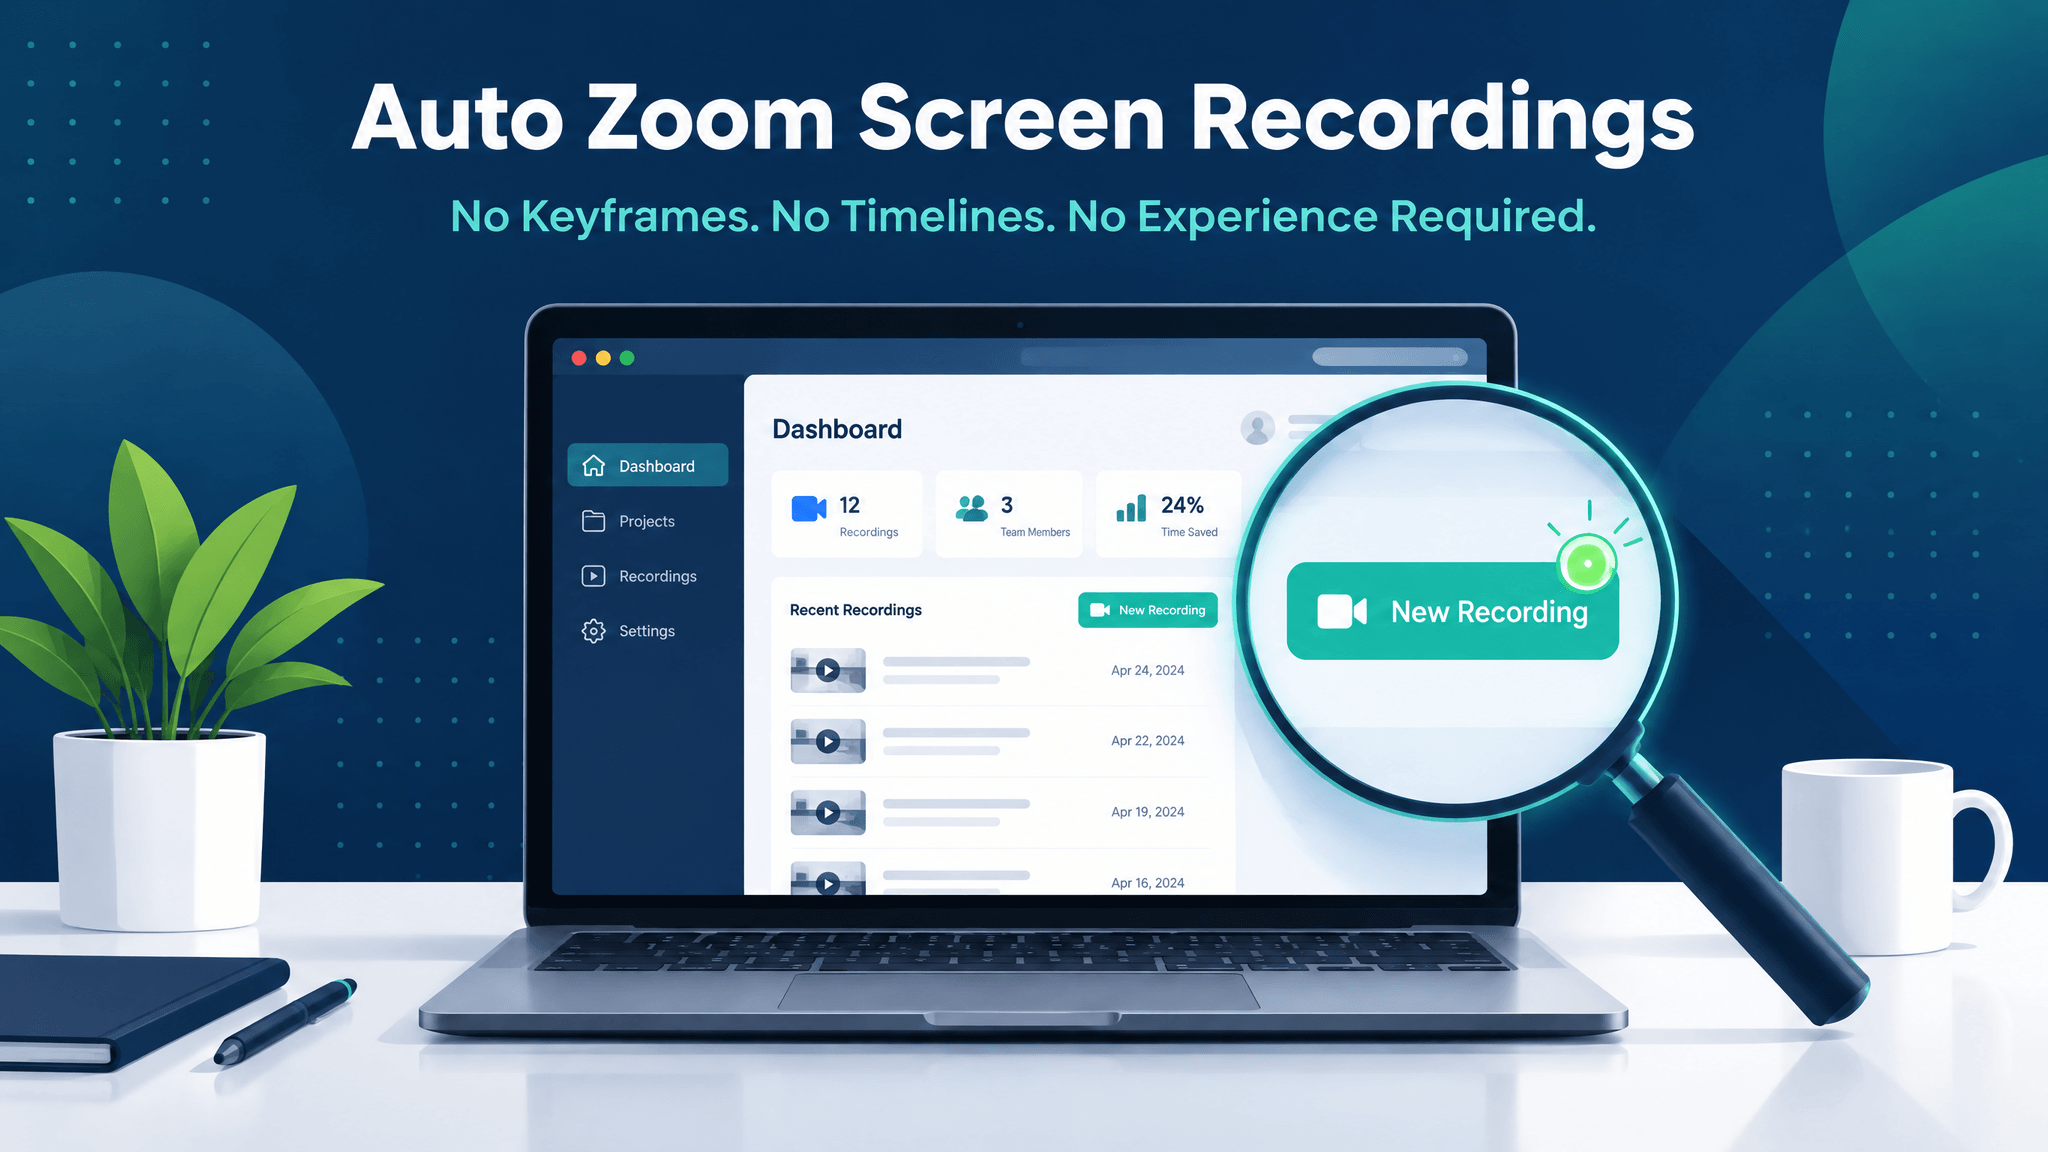
You recorded a solid five-minute walkthrough, but the moment you preview it, the problem is obvious: every click lands on a button that occupies maybe 40 pixels of a 1920px frame. Viewers lean in, squint, and leave. The fix is not re-recording on a bigger monitor — it is adding auto zoom to your screen recording so the camera follows the action on its own, with no keyframes, no timelines, and no video editing experience required.
This guide covers two workflows: recording with auto zoom enabled from the start, and adding zoom motion to footage you already have. It also explains how the tracking actually works, and how to tune the effect so it looks like a camera operator filmed your demo instead of a robot having a seizure.
Why Flat Screen Recordings Lose Viewers
Watch any raw screen capture and you will notice how much dead space surrounds the action. A full-screen recording of a web app devotes most of its pixels to chrome — navigation bars, sidebars, empty margins — while the thing the viewer actually needs to see, the cursor and the button it clicks, shrinks into a tiny region of the frame.
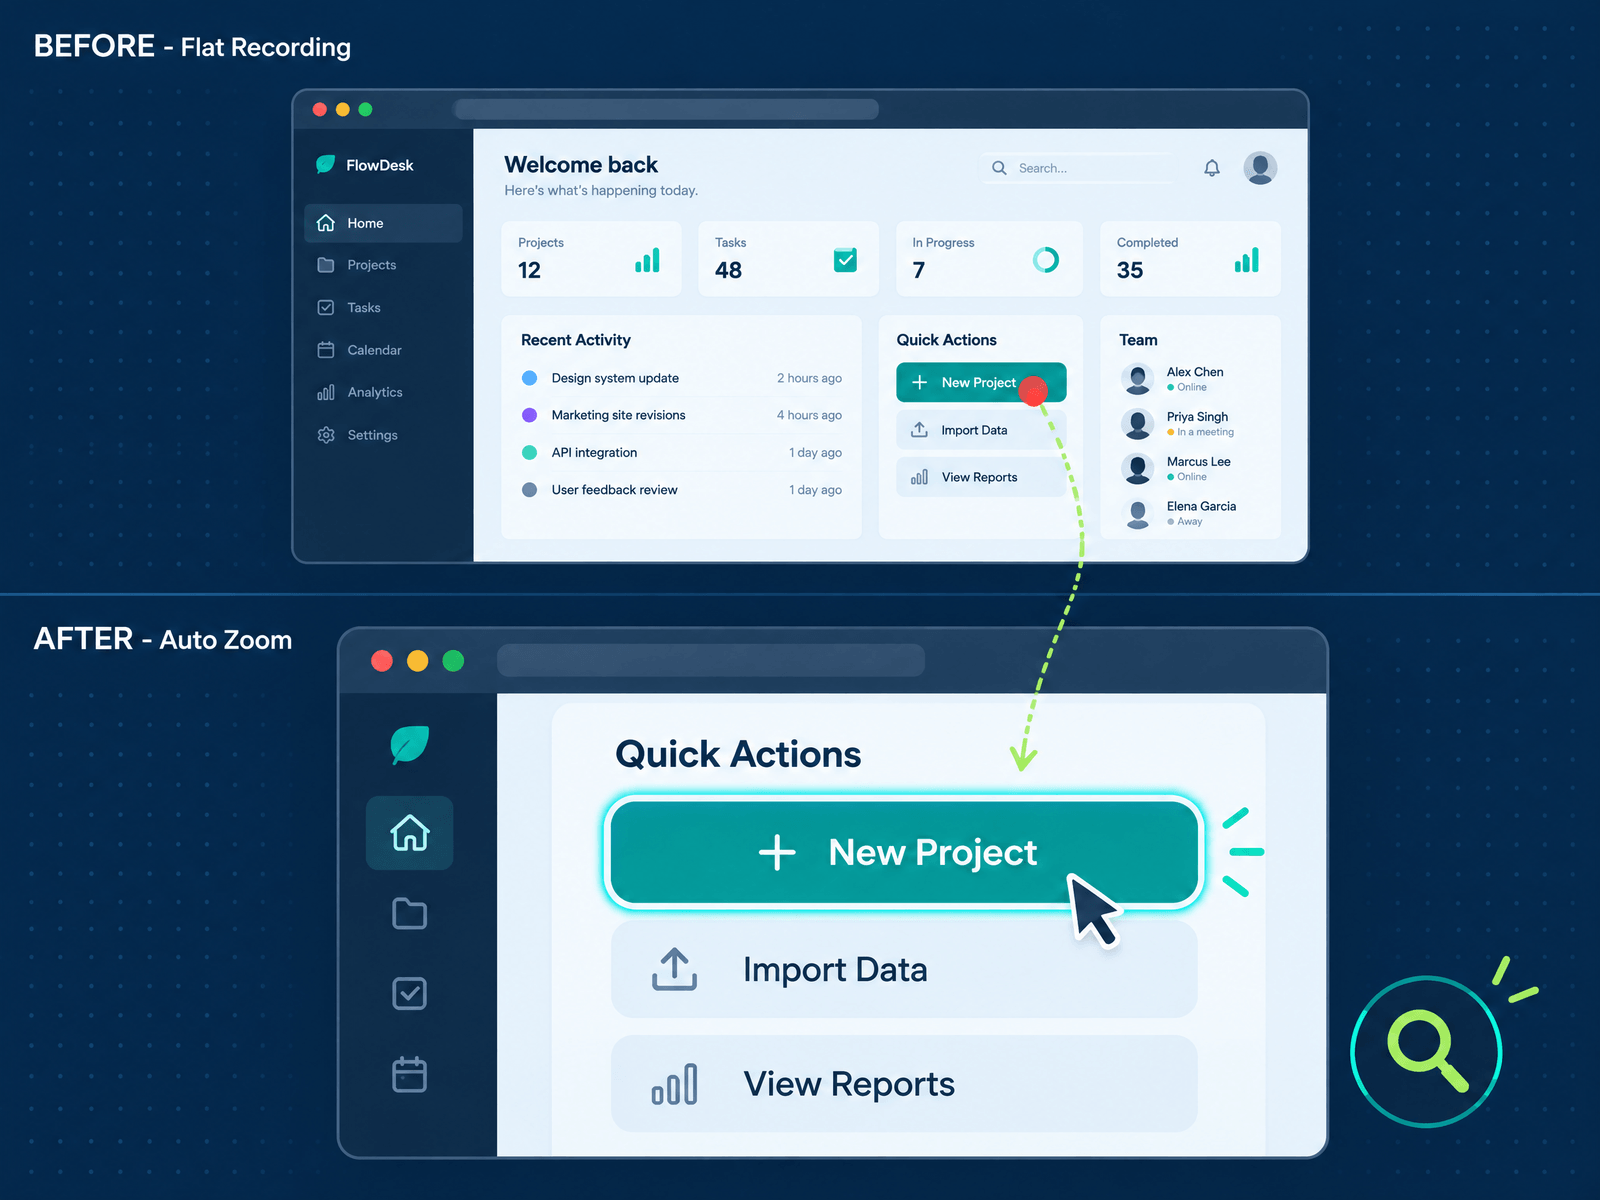
The consequences are measurable, not cosmetic:
- Comprehension drops. Viewers cannot follow steps they cannot see. If the "Save changes" button is eight pixels tall on their phone, the tutorial stops teaching.
- Attention drifts. A static frame gives the eye nothing to anchor on. Every few seconds of flat footage is an invitation to check another tab.
- Mobile viewers bail first. Most product walkthroughs are shared in Slack, LinkedIn, or email and opened on phones. A full desktop UI squeezed into a 6-inch screen is borderline unwatchable.
Professional product teams solved this years ago with camera moves: zoom in when something important happens, pull back to reorient, repeat. The question is whether you produce those moves by hand or let software detect them for you.
Manual Keyframing vs. Auto Zoom
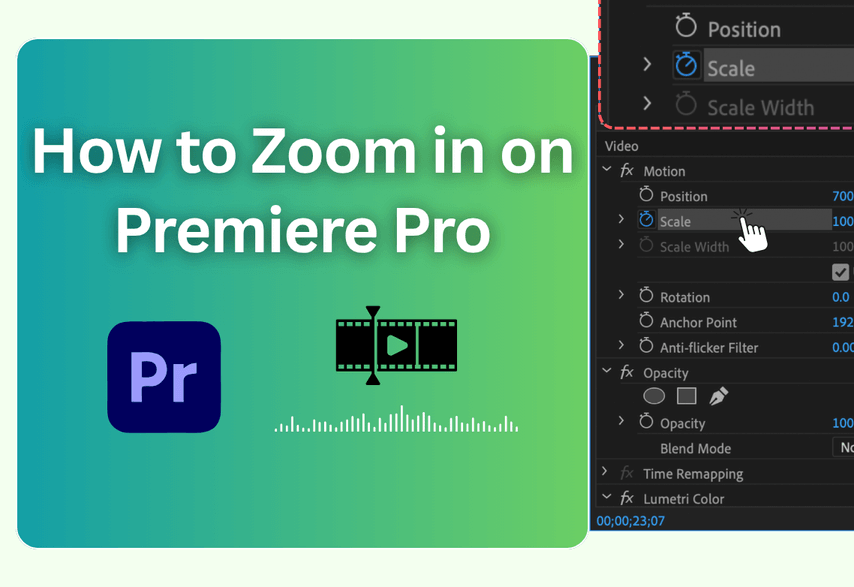
Traditionally, dynamic zoom is a keyframe job. In an editor like Premiere Pro, you set a scale keyframe before the click, another after it, adjust the position on both, then repeat for every single action in the video, then fine-tune the easing curves so the motion does not snap. For a five-minute product demo with thirty clicks, that is an afternoon of tedium — and every product update means doing it again. If you come from that world, our guide to zooming in Premiere Pro maps the manual workflow in detail.
Auto zoom inverts the job. Instead of you telling the software where the camera should go, the software watches where you click and dwell, then plans the camera moves itself:
- Click detection. Every click is treated as a high-priority focus event. You clicked the "Export" button — the camera should be there when it happens.
- Dwell detection. Hovering over a region for a moment is a softer signal that something matters there, worth a gentler zoom.
- Predictive camera planning. The lens starts moving slightly before it reaches each focus point, along a smooth spline with ease-in-out acceleration, so the motion reads as intentional rather than reactive.
The result is a recording that is already 80% edited by the time you stop recording. The remaining 20% — adjusting magnification here, trimming a zoom there — takes minutes, because every zoom point remains editable after the fact.
Method 1: Record with Auto Zoom Enabled from the Start
The cleanest workflow is to let auto zoom run while you record. Everything below happens in the browser, no installation beyond an optional Chrome extension.
Step 1: Open the recorder. Head to the screen recorder with auto zoom and start a new recording. Choose your sources — screen, webcam, microphone — individually or together. A small webcam bubble in the corner is a proven trust builder for product demos.
Step 2: Just use your product normally. Click through the flow you are demonstrating at a natural pace. There is no "zoom mode" to activate and no hotkey to remember. After the first couple of clicks, the auto zoom engine has enough tracking data to start planning camera moves around your behavior.
Step 3: Stop and review. When you stop recording, the timeline opens with zoom points already placed at your clicks and dwells. Play it back once — this is the moment most people smile, because the boring raw capture has become something that looks deliberately filmed.
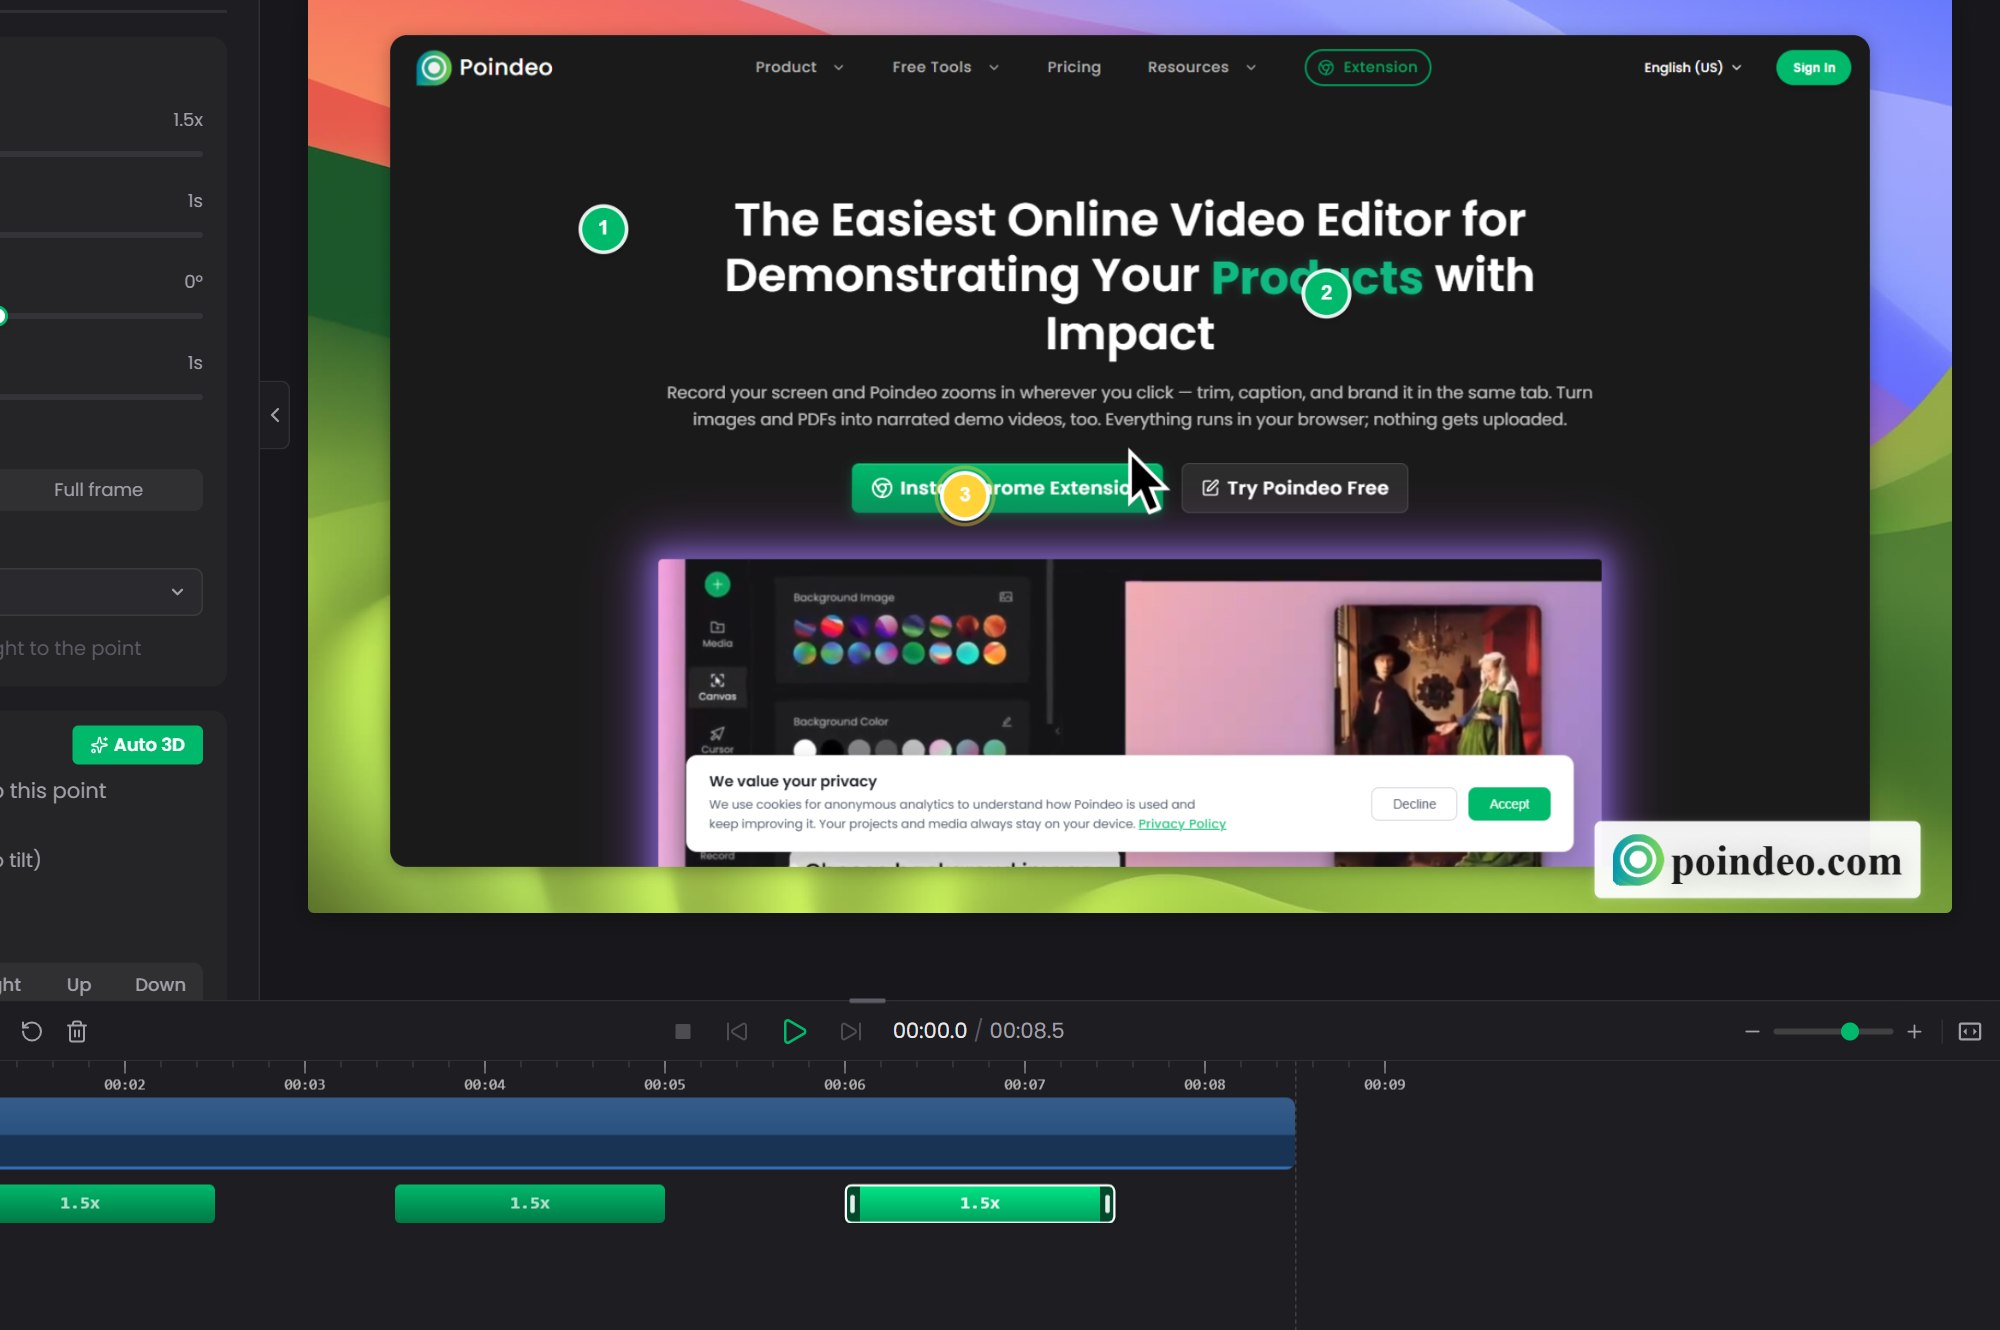
Step 4: Refine instead of rebuild. Every zoom point is a editable object: raise or lower the magnification, shift its timing earlier or later, delete the ones that add nothing. If a click happened somewhere you would rather keep in wide shot, one tap removes that zoom without touching the others.
Step 5: Export. Render to MP4 up to 4K, or to GIF for embedding in READMEs and docs. Pick the aspect ratio for where the video lives — 16:9 for YouTube, 9:16 for Shorts and TikTok, 1:1 and 4:3 for feeds and LinkedIn. Processing runs locally through a WebAssembly pipeline, so nothing you recorded ever leaves your machine.
Method 2: Add Zoom to a Recording You Already Have
Already sitting on a pile of flat recordings from Loom, OBS, or a teammate's QuickTime dump? You do not have to re-record them. Upload the file into the editor, then place zoom points manually by clicking the spots that deserve attention. The engine still handles the hard part — the motion path, the easing, the zoom-in and pull-back choreography — you are only deciding where the camera goes, not how.
This hybrid mode is also the right answer when your footage includes important moments the automatic detection cannot know about, like a section of a spreadsheet you highlight with the keyboard, or a region you circle with annotation tools. Auto detection covers clicks and dwells; manual points cover intent.
Tuning Auto Zoom So It Feels Cinematic, Not Nauseating
Bad zoom is worse than no zoom. Motion sickness sets in fast when the camera constantly snaps between targets. Four rules keep the effect professional:
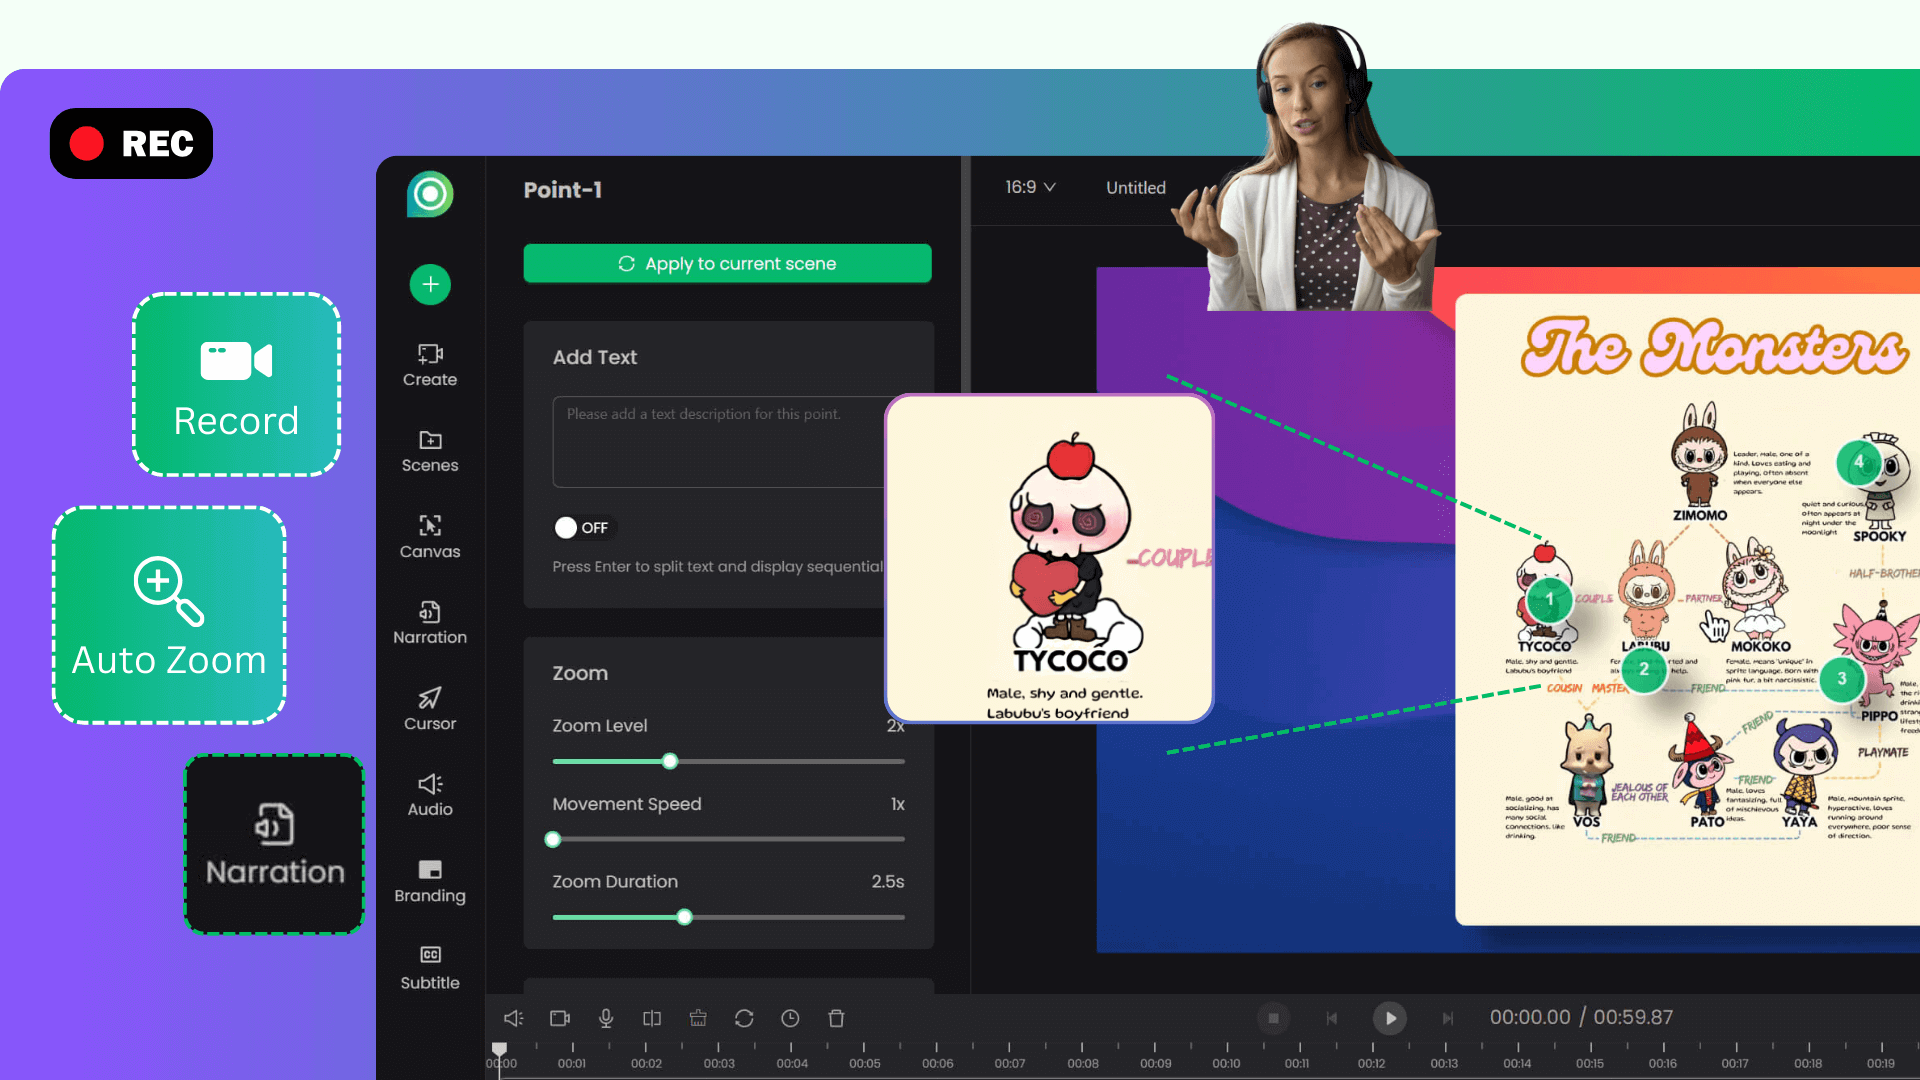
- Zoom for a reason. Every zoom point should answer a question the viewer has: where do I click, what changed, what should I read now? Decorative zooms train viewers to ignore the camera.
- Respect reading speed. Hold the close-up long enough for the on-screen text to be read twice. For form fields and settings panels, that usually means one to two seconds beyond what feels natural to you — you already know the UI, your viewers do not.
- Mind the magnification. Big jumps between wide and tight views disorient. Moderate magnification with a smooth transition usually reads better than slamming into maximum zoom.
- Let the camera breathe. A beat of wide shot between two zooms reorients the viewer and gives the sequence rhythm. Consecutive tight shots with no reset in between are how tutorials earn the "stop moving the camera" comments.
One Recording, Every Platform
Product footage rarely lives in one place anymore. The same walkthrough becomes a YouTube tutorial, a 45-second LinkedIn clip, an in-app onboarding step, and a GIF in the docs. Because zoom points are attached to moments in time rather than to a fixed frame layout, re-exporting for a different aspect ratio keeps the camera work intact — the 9:16 crop still centers on the action, not on dead sidebar pixels.
If your target is a step-by-step guide rather than a video, the same zoom logic transfers: the close-ups you defined become the illustrative frames of a written walkthrough.
Add Depth: 3D Tilt on Zoom Points
Zooming moves the camera closer. A newer option in the editor adds a second dimension to the move: 3D tilt, a slight perspective lean applied while the camera zooms into a point, so the move reads as a camera operator turning toward the action instead of just magnifying it.
Every zoom point has a 3D Effects panel: tilt the shot with direction presets (or a joystick for fine control), set the depth of the perspective, and choose a lens feel from telephoto to wide. If picking a direction for every point sounds like work, Auto 3D does it in one click — it reads where each point sits in the frame and assigns a matching lean, so low corners tilt up toward themselves and centered points stay flat. The effect is deliberately subtle: enough to feel cinematic, never enough to distort the text you are zooming into.
Two honest notes. 3D tilt and rotation are mutually exclusive — a given zoom point uses one or the other, not both. And 3D rendering leans on your browser's hardware acceleration; on browsers without it, zooms simply stay flat. New points default to no tilt at all, so existing projects look exactly the same until you opt in.
FAQ: Adding Auto Zoom to Screen Recordings
Q1: Does auto zoom work with any application, or only browsers?
Recording captures your whole screen, a window, or a browser tab, so auto zoom works with any software you can show on screen — desktop apps, dashboards, IDEs, even Excel. The tracking is based on what happens in the recording, not on any special hook into the app being recorded.
Q2: What if the automatic zoom picks the wrong spots?
Every zoom point is editable after recording. Delete a zoom you do not want, adjust its magnification, shift its timing, or add manual points where the detection missed something. The automation is a first draft, not a verdict.
Q3: Can I disable auto zoom entirely and control everything manually?
Yes. If you prefer full manual control, place zoom points yourself and the engine will animate between them. Many users start manual for precision segments and let automation handle the rest.
Q4: Will zooming make my file huge or blurry?
No. Zoom is a transformation applied during rendering, not a crop of a low-res source. Export up to 4K, and the zoomed regions stay as sharp as the original capture allows.
Q5: Does my footage get uploaded anywhere?
Recording, editing, and rendering run locally in your browser. Your screen content is not uploaded to a server, which matters when your demo includes customer data or internal dashboards.
Stop Keyframing. Start Recording.
Auto zoom removes the single worst part of making product videos: the hour of keyframe surgery between "recording done" and "video ready." Record your product the way you normally use it, let the camera follow the story, spend your minutes on the 20% of refinement that actually shows, and export for every platform from a single take. If you want to see the technique applied end to end, our demo video with auto zoom walkthrough covers the full production, from scripting to final export.