Quick Answer
To blur sensitive information in a screen recording, import the recording into a video editor that supports region-based blur, draw a rectangle over the sensitive area, choose an effect (pixelate, frosted glass, gaussian blur, or solid mask), set the time range the blur should stay visible, then export. In Poindeo, the whole fix takes about two minutes: Mosaic → draw region → pick effect → export — no timeline surgery and no re-recording.
The rest of this guide covers the full workflow most tutorials skip: what to look for before you blur, how to keep the blur from leaking data anyway, and which effect type actually protects your viewers' privacy.
What Counts as Sensitive Information in a Screen Recording
Most leaks in product demos and tutorial videos are not dramatic. They are ordinary UI elements that happen to contain someone's data:
- Personal identifiers — customer names, email addresses, phone numbers, and avatars in a CRM, ticketing queue, or user list
- Account credentials — autofilled passwords, API keys, tokens, and connection strings visible in a settings page or terminal
- Payment data — card numbers, billing addresses, invoices, and revenue figures on dashboards
- Internal URLs and system names — staging environments, admin panels, or internal tooling you do not want publicly mapped
- Other people's content — Slack notifications, email previews, and file names that belong to coworkers who never agreed to appear in your video
A useful habit: watch your recording once at full speed before editing, and write down every timestamp where something sensitive appears. Blur passes done from memory are exactly how leaks survive to publication.
Prevent Leaks Before You Hit Record
Blurring is the cleanup step. The cheapest fix is never capturing the data in the first place:
| Prevention tactic | What it protects against |
| Record a single window, not the whole screen | Desktop files, other apps, and notifications sneaking into frame |
| Use a separate browser profile with demo data | Real customer records in your production account |
| Enable Do Not Disturb | Slack previews and message pop-ups mid-recording |
| Sign out of real accounts, sign into a test account | Live dashboards, billing pages, and personal history |
| Close password managers and clean the autofill state | Credentials flashing for a split second during form fills |
None of this replaces blurring — demo data often looks fake, and sometimes you need the real UI for the video to be credible. But every item you prevent is one region you do not have to blur, reposition, and re-check at export time.
How to Blur Sensitive Information After Recording
This section walks through the process in Poindeo's browser-based editor, using its built-in Mosaic feature. The same four decisions — where, what effect, when, how strong — apply in any editor.
Step 1: Import your recording
Open the Poindeo editor at poindeo.com and create a new project. Drop your screen recording onto the canvas or click import — MP4, WebM, and MOV files all work, and the file stays on your machine because processing happens locally in the browser.
Once the recording loads as a scene, play through it once and note the timestamps you marked earlier.
Step 2: Draw the blur region over the sensitive area
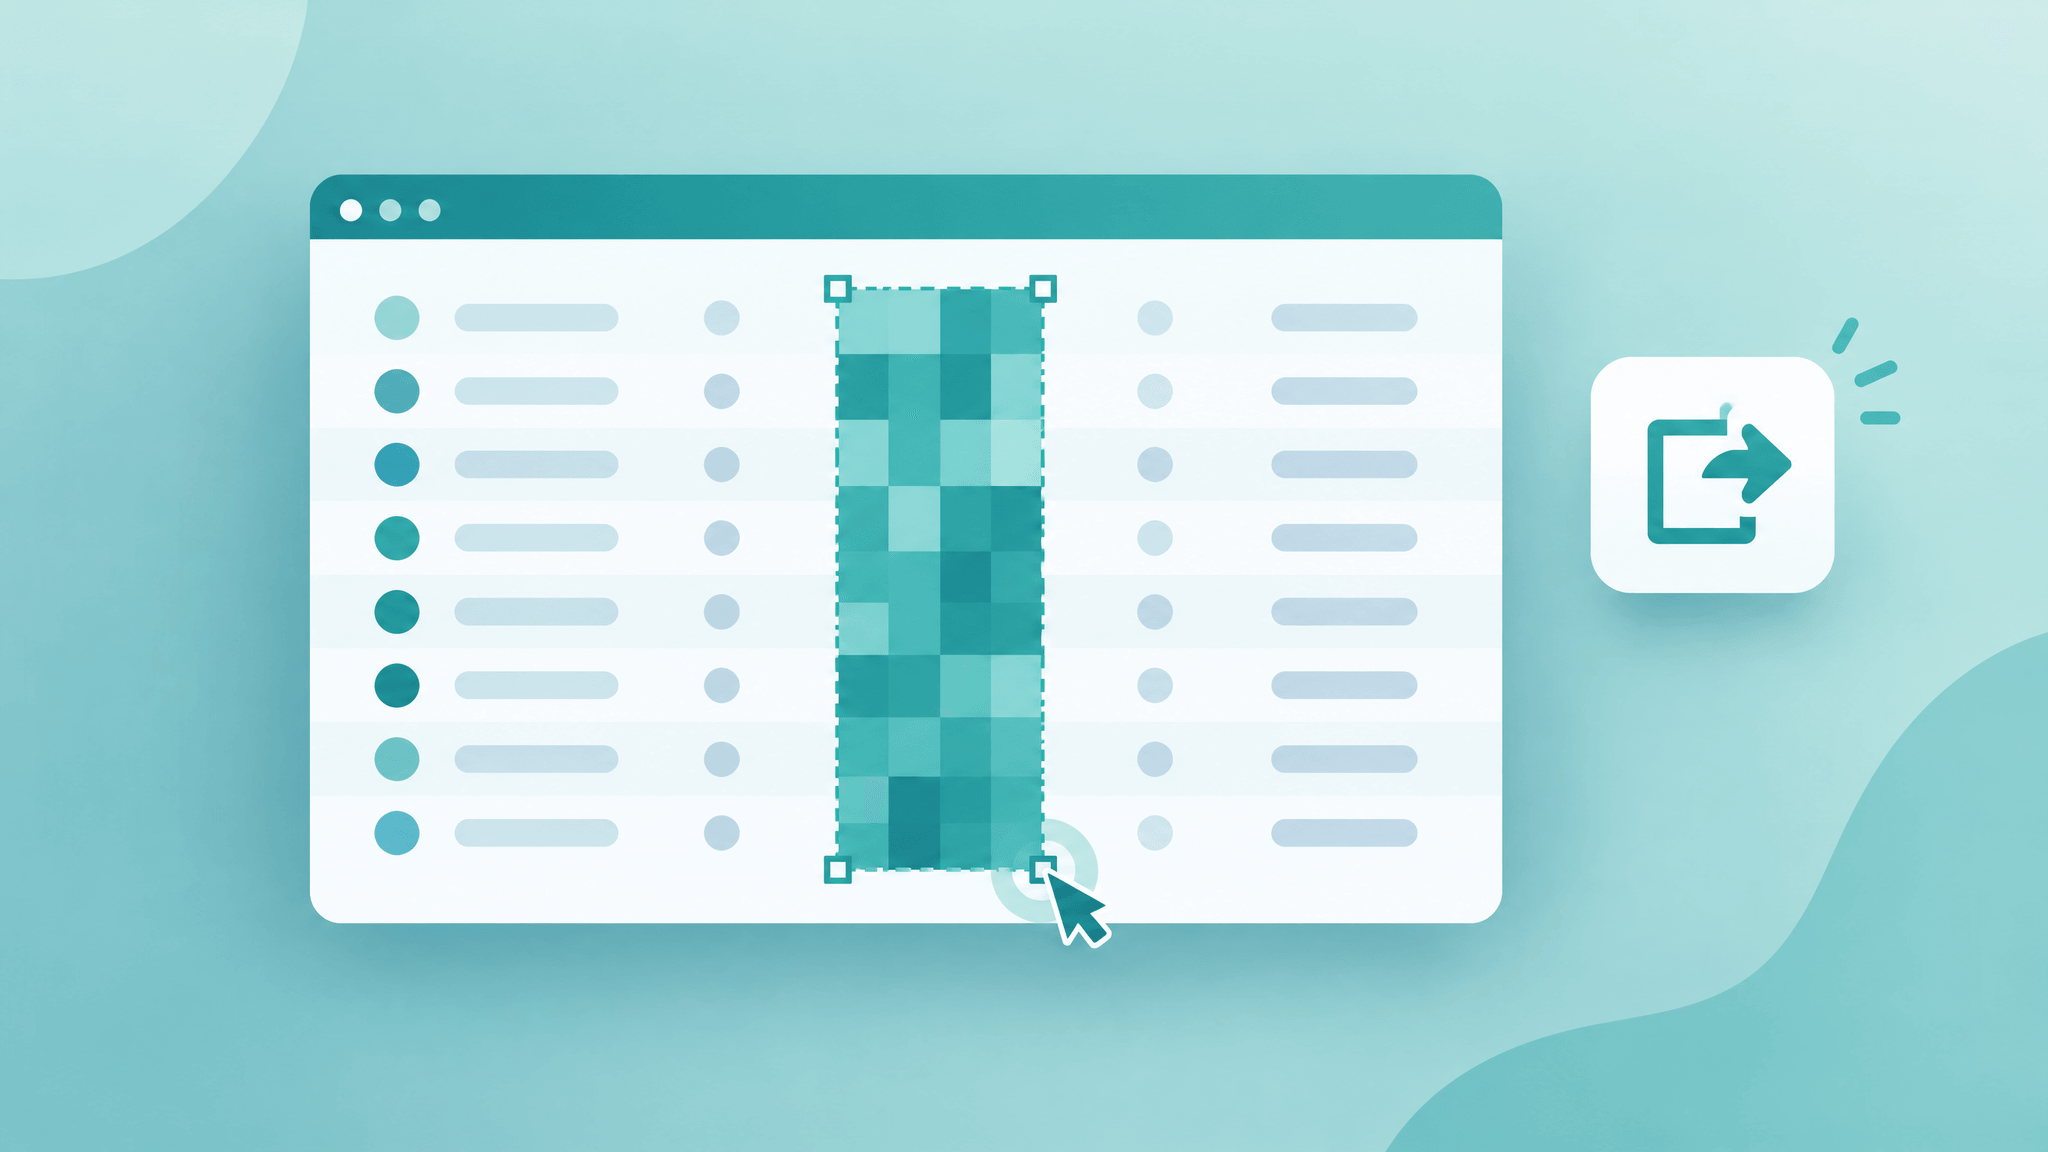
Click the Mosaic button — the grid icon in the toolbar above the timeline — to enter Mosaic Mode. The left panel confirms you're in the right mode ("Draw a mosaic area on the canvas or select an existing one"). Now drag a rectangle directly on the canvas over the sensitive element — the email column, the API key, the invoice total. The region attaches to that scene, and you can resize or move it by dragging at any time.
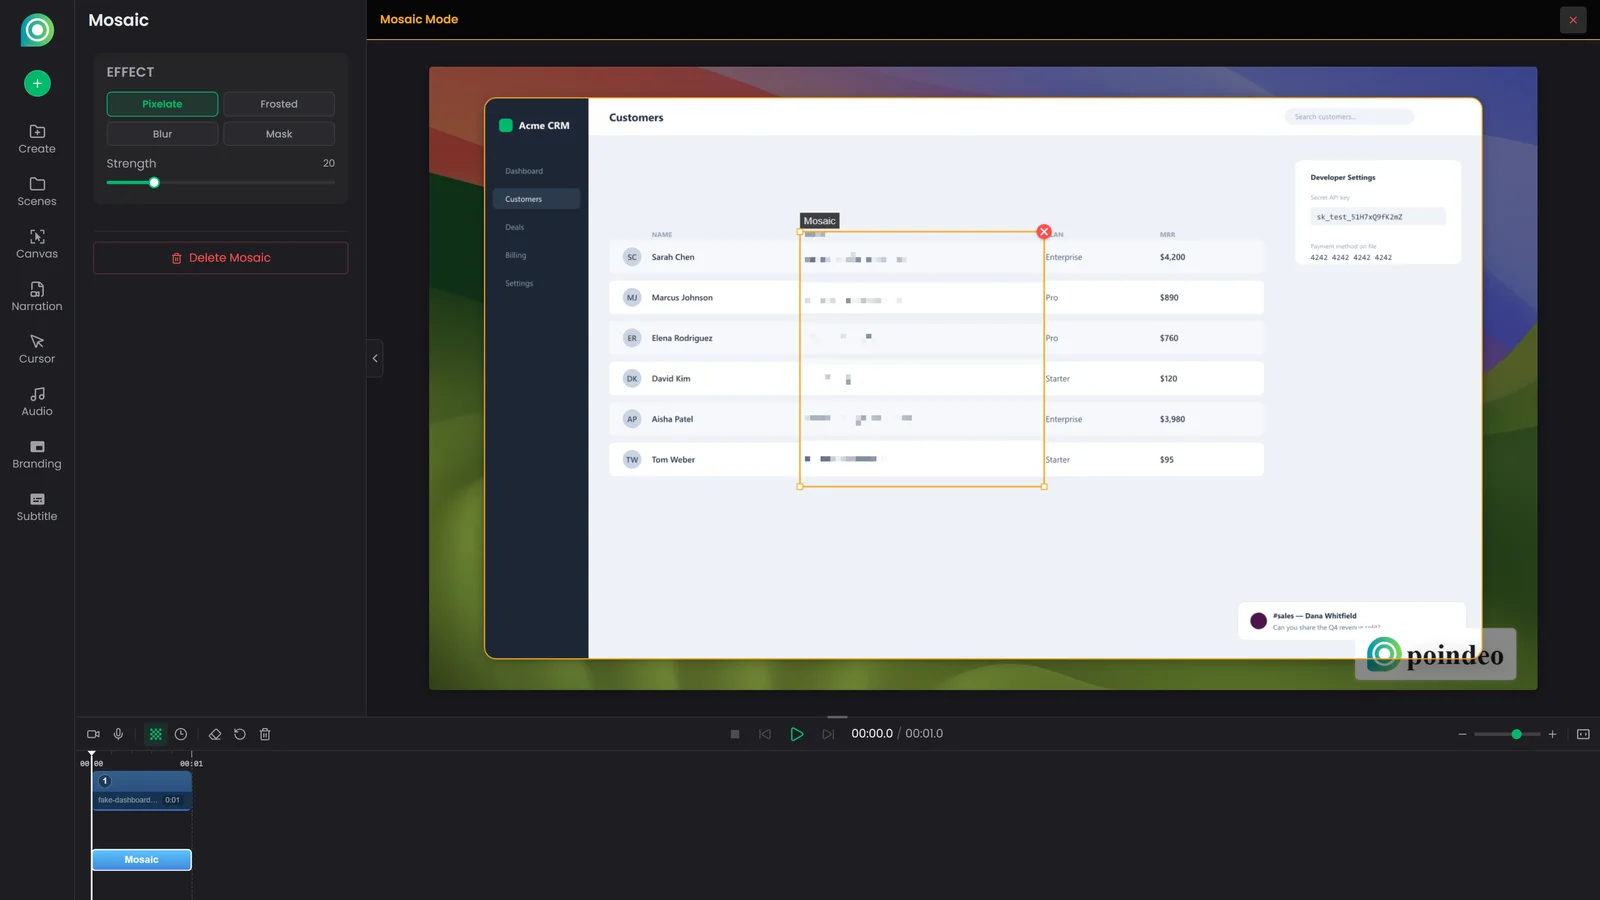
The dashed outline you see while editing never appears in the export — only the effect inside the region does.
Step 3: Pick the right effect type
Poindeo gives you four effect types, and they are not interchangeable where privacy is concerned:
- Pixelate — classic mosaic squares. Fast and instantly recognizable as "redacted."
- Frosted — a downsampled glass blur. Softer look, good for design-forward demos.
- Blur — gaussian blur. Smooth, iOS-style defocus.
- Mask — a solid color block. The only option that fully guarantees nothing underneath is recoverable.
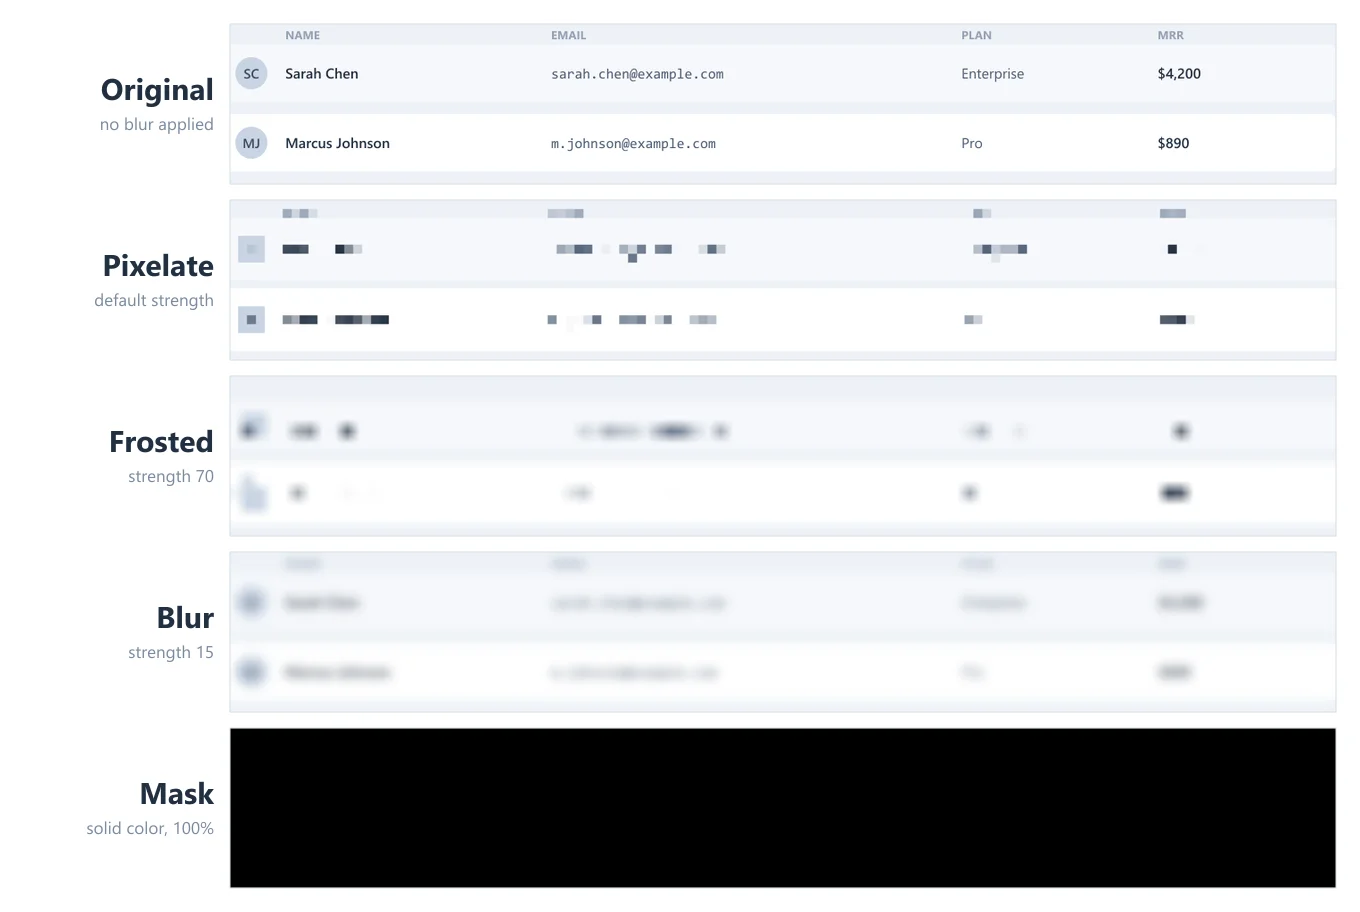
If the region covers genuinely secret material — keys, cards, IDs — use Mask or heavy Pixelate. Light gaussian blur over small text can leave shapes legible enough to reconstruct, which brings us to the next step.
Step 4: Set strength and timing
Adjust the effect with the slider in the mosaic panel: Strength for Pixelate, Blur Intensity for Frosted and Blur, and Opacity for Mask. Crank pixelation strength up until the underlying text is unreadable even when the video is paused — pausing is exactly how snoopy viewers inspect blur regions.
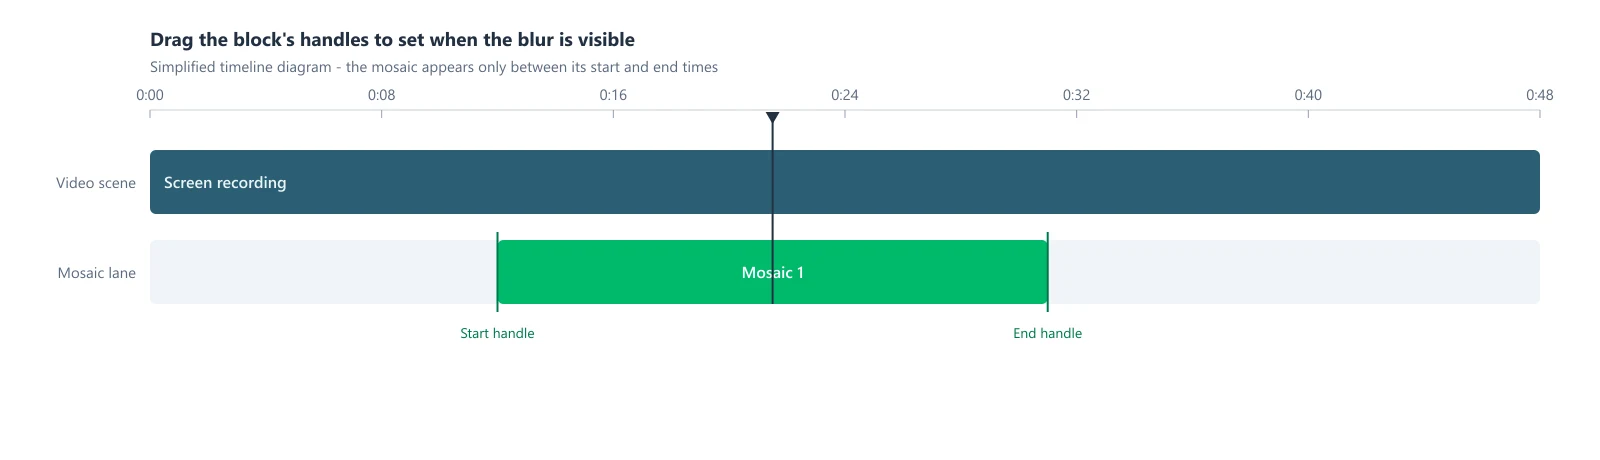
For timing, every mosaic region has its own start and end handles on the timeline's mosaic lane. By default a region covers the whole scene. If the sensitive element only appears from 0:12 to 0:31 — say a notification slides in and dismisses itself — trim the region to that window so the rest of your recording stays clean.
Working with several regions? Draw each one, then use Sync to mosaics in this scene to apply one set of effect settings across all of them at once.
Step 5: Export
Press Esc or click the Mosaic button again to leave Mosaic Mode, review the full recording once at export resolution, then hit Export and choose your resolution. The blur is baked into the final file — what you previewed is exactly what ships.
On Poindeo's free plan you export at 720p; Pro unlocks up to 4K at $19.99/month (or $3.33/month billed yearly, and a $99 one-time lifetime option) if your publishing channel needs higher fidelity.
Blur While Recording vs. Blur After Recording
Some recording tools let you blur during capture — you click a region and it stays obscured live. Both approaches are legitimate; they solve different moments:
| Blur while recording | Blur after recording | |
| Best when | You know in advance exactly what's sensitive | You're reviewing footage and spot leaks after the fact |
| Mistake cost | High — a mispositioned live blur ruins the take | Low — adjust the region and re-export |
| Precision | Coarse; you're drawing while also presenting | Fine — frame-by-frame control at your own pace |
| Works with old recordings | No | Yes |
The after-recording route is also the only option for footage that already exists — webinars you hosted, sessions a teammate recorded, or screen captures from a platform that offers no blur at all. That's deliberately where this guide focuses.
For a wider comparison of editors that handle this task, see the best blur video editors — Poindeo, CapCut, and other options compared on effect types, tracking, and export limits.
Choosing a Blur Type That Actually Protects Privacy
Redaction and decoration are different jobs. When the goal is privacy, apply this test to each region:
- Pause test — pause the exported video on the blurred area. Can you still read shapes, lengths, or layouts? A blurred email still reveals its domain; a blurred card number still reveals its digits count.
- Contrast test — dark text under a light frosted blur can survive as smudges. Switch to Mask if any structure remains.
- Context test — sometimes the region itself is the leak. A pixelated billing page still says "this customer has a billing page." Ask whether the whole panel should go, not just the field.
And one rule worth repeating: blur is not encryption. Heavy pixelation and solid masks are effectively unrecoverable, but weak blur over high-contrast text can sometimes be sharpened back toward legibility. When in doubt, mask it.
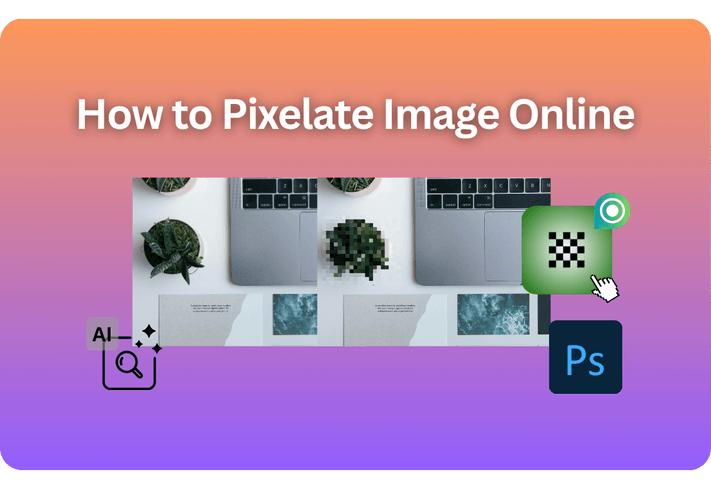
If you also need to redact still images — screenshots destined for docs or changelogs — the pixelation workflow in how to pixelate an image covers that in detail, and the blur image online tool handles one-off screenshots without a video editor.
Alternatives for Blurring a Screen Recording
Poindeo is not the only path. Depending on what you already use:
- CapCut (capcut.com) — free desktop and mobile editor; apply a blur effect masked to a rectangle, then keyframe the mask if the target moves. More manual, very capable.
- Recordio (recordio.io) — screen recorder with post-capture blur: draw a rectangle, set its start and end. Closest to the workflow above if you want recording and blurring in one tool.
- Your NLE — DaVinci Resolve and Premiere Pro both do masked blurs with tracking; overkill for a two-minute demo fix, right-sized if the edit already lives there.
The honest trade-off across all of them: desktop NLEs track moving objects better, while browser tools get you from import to export faster. For static regions over UI elements — which is what most screen recordings need — the difference rarely matters.
FAQ
Can you blur part of a video after recording?
Yes. Any editor with region-based effects can do it — import the recording, draw a rectangle over the area, pick pixelate/blur/mask, and export. The blur is composited on top of the original pixels in the final file, so nothing needs to be re-recorded.
How do I blur something that moves in a screen recording?
For static UI elements — a sidebar, a form field, a column in a table — a fixed region with a time window is enough. For content that moves (a dragged window, a scrolling list), either widen the region to cover the entire travel path for its duration, or use an editor with mask tracking like CapCut or DaVinci Resolve, which follows the object frame by frame.
Is pixelation or blur better for hiding sensitive data?
Pixelation at high strength and solid color masks are the safest choices — both destroy the underlying detail. Gaussian and frosted blurs look better but can leave recoverable structure on high-contrast text, especially small fonts like emails and API keys. For anything genuinely confidential, Mask is the conservative answer.
Can blurred or pixelated information be recovered?
Heavy pixelation and solid masks are effectively permanent. Light blur is weaker: contrast patterns can survive, and deblurring techniques can sometimes sharpen them. Treat blur as visual obfuscation, not encryption, and choose strength accordingly.
Does blurring work on the free plan of Poindeo?
Yes — mosaic regions, all four effect types, and time windows are free-plan features; the free plan exports at 720p. Higher resolutions up to 4K require Pro at $19.99/month, $3.33/month billed yearly, or a one-time $99 lifetime license.
How do I blur my screen while recording live?
Set the blur up before capture: use a recorder that supports live regions, or simply prevent the sensitive content from appearing — record a single window instead of the full screen, enable Do Not Disturb, and use a test account with fake data. Live blur is convenient, but prevention leaks less.
What's the fastest way to check a finished video for leaks?
Play the export once at 2× speed watching only for unblurred regions, then pause on every blur region and attempt to read what's underneath. If you can make out anything — a domain, a digit pattern, a name shape — strengthen the effect and re-export before publishing.